Good images are a central component of every successful career page. To ensure that photos work optimally in the talentsconnect modules later on, you should already keep the intended use in mind during the photoshoot. The following tips will help you plan suitable subjects, formats, and image compositions.
There are no fixed or mandatory pixel dimensions for header or module images in talentsconnect home. However, for high visual quality and long-term usability, we recommend working with high-resolution images above 4K. This corresponds to approximately 8–9 megapixels and ensures that images are displayed sharply even on large, modern screens.
Best Practices for Image Composition and Focus
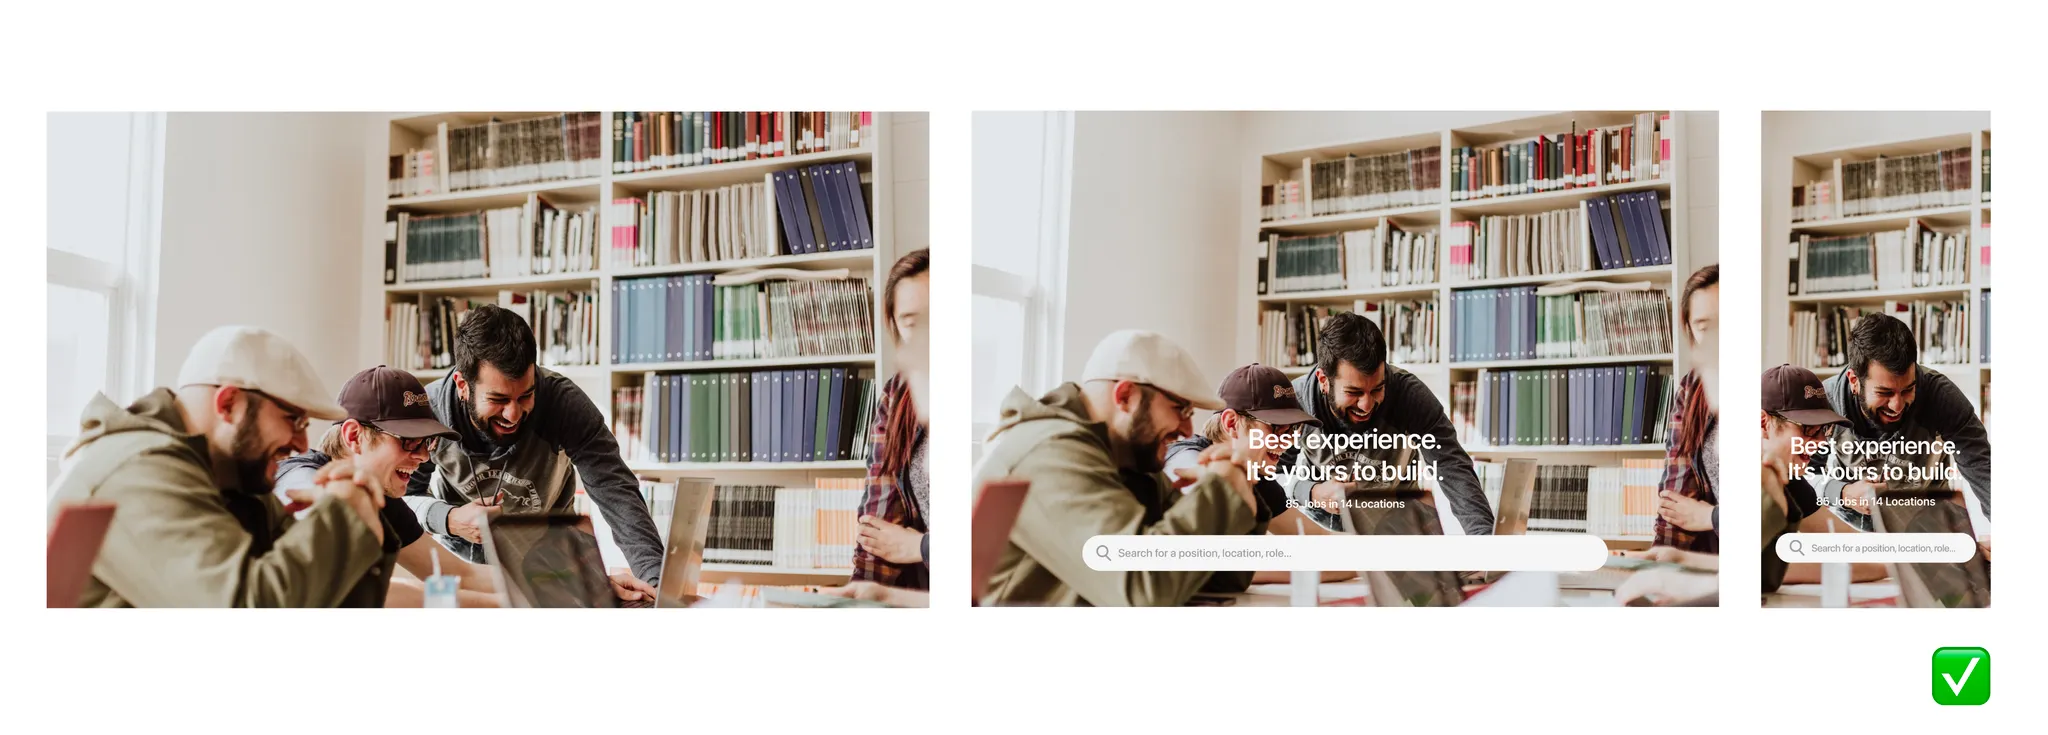
Central main subject: Place the most important subject as close to the center of the image as possible.
Sufficient negative space: Leave enough open space around the subject.
This approach takes into account the responsive behavior of the page (different screen sizes, crops, aspect ratios) and ensures that people and key content always remain clearly visible and in focus on desktop, tablet, and mobile.
1. Context Before Subject
Before the camera clicks, ask yourself two fundamental questions:
Is the image standalone or supporting?
- Standalone images
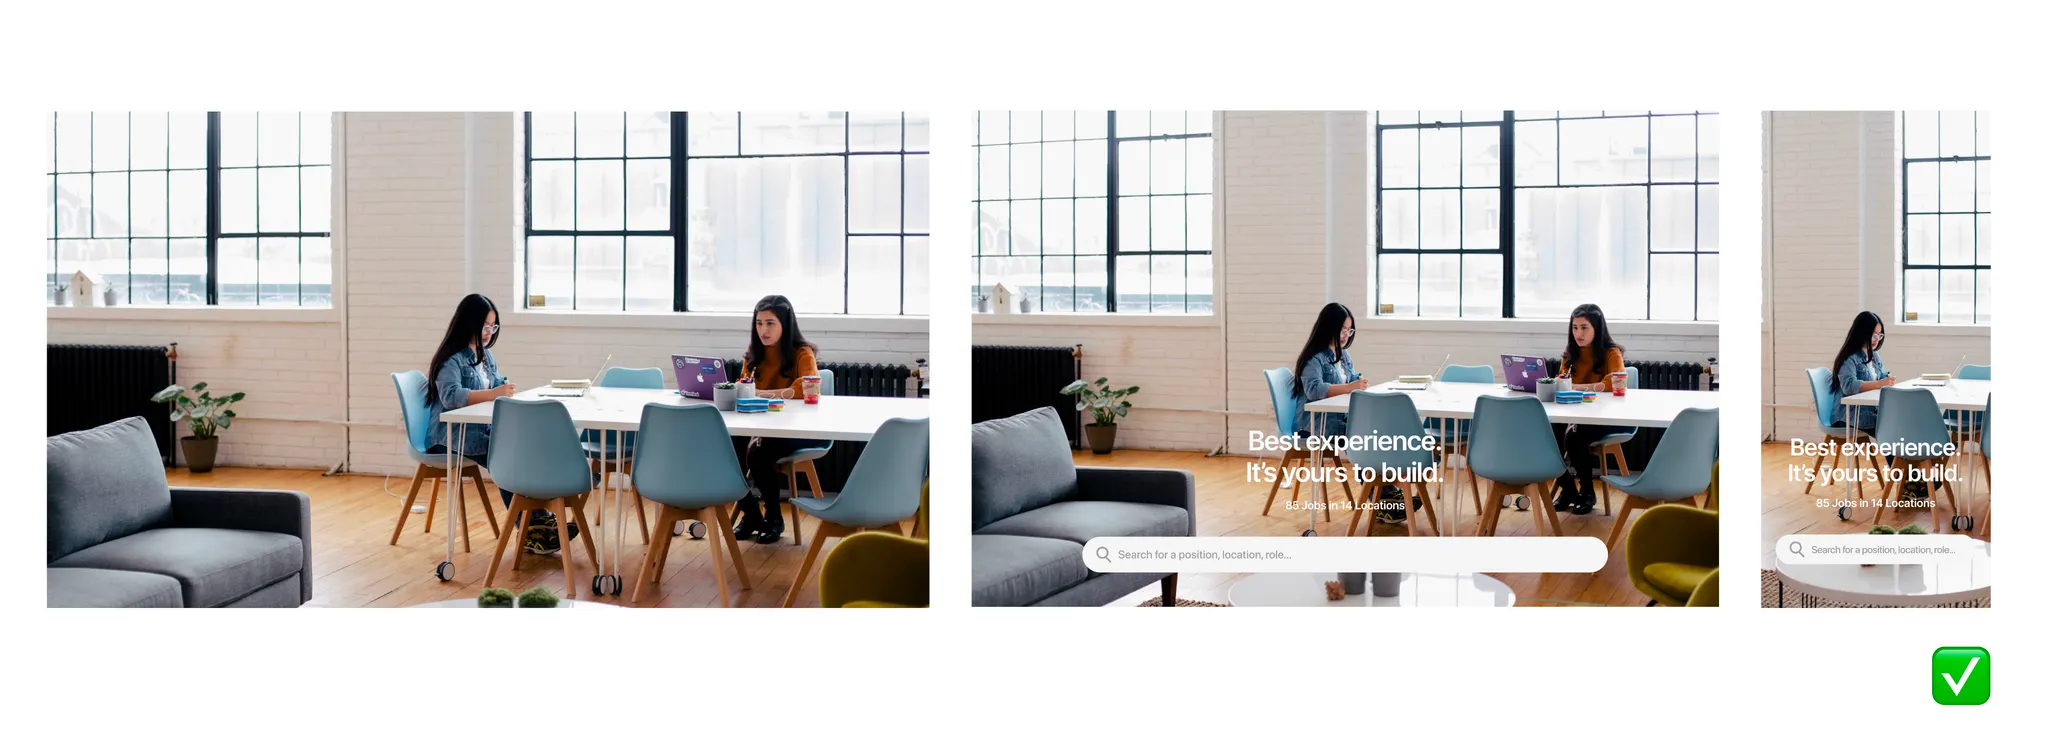
These images stand on their own and convey a clear message without much explanatory text. Examples include:Hero modules
Office or team shots
Atmospheric images for the introduction of a page
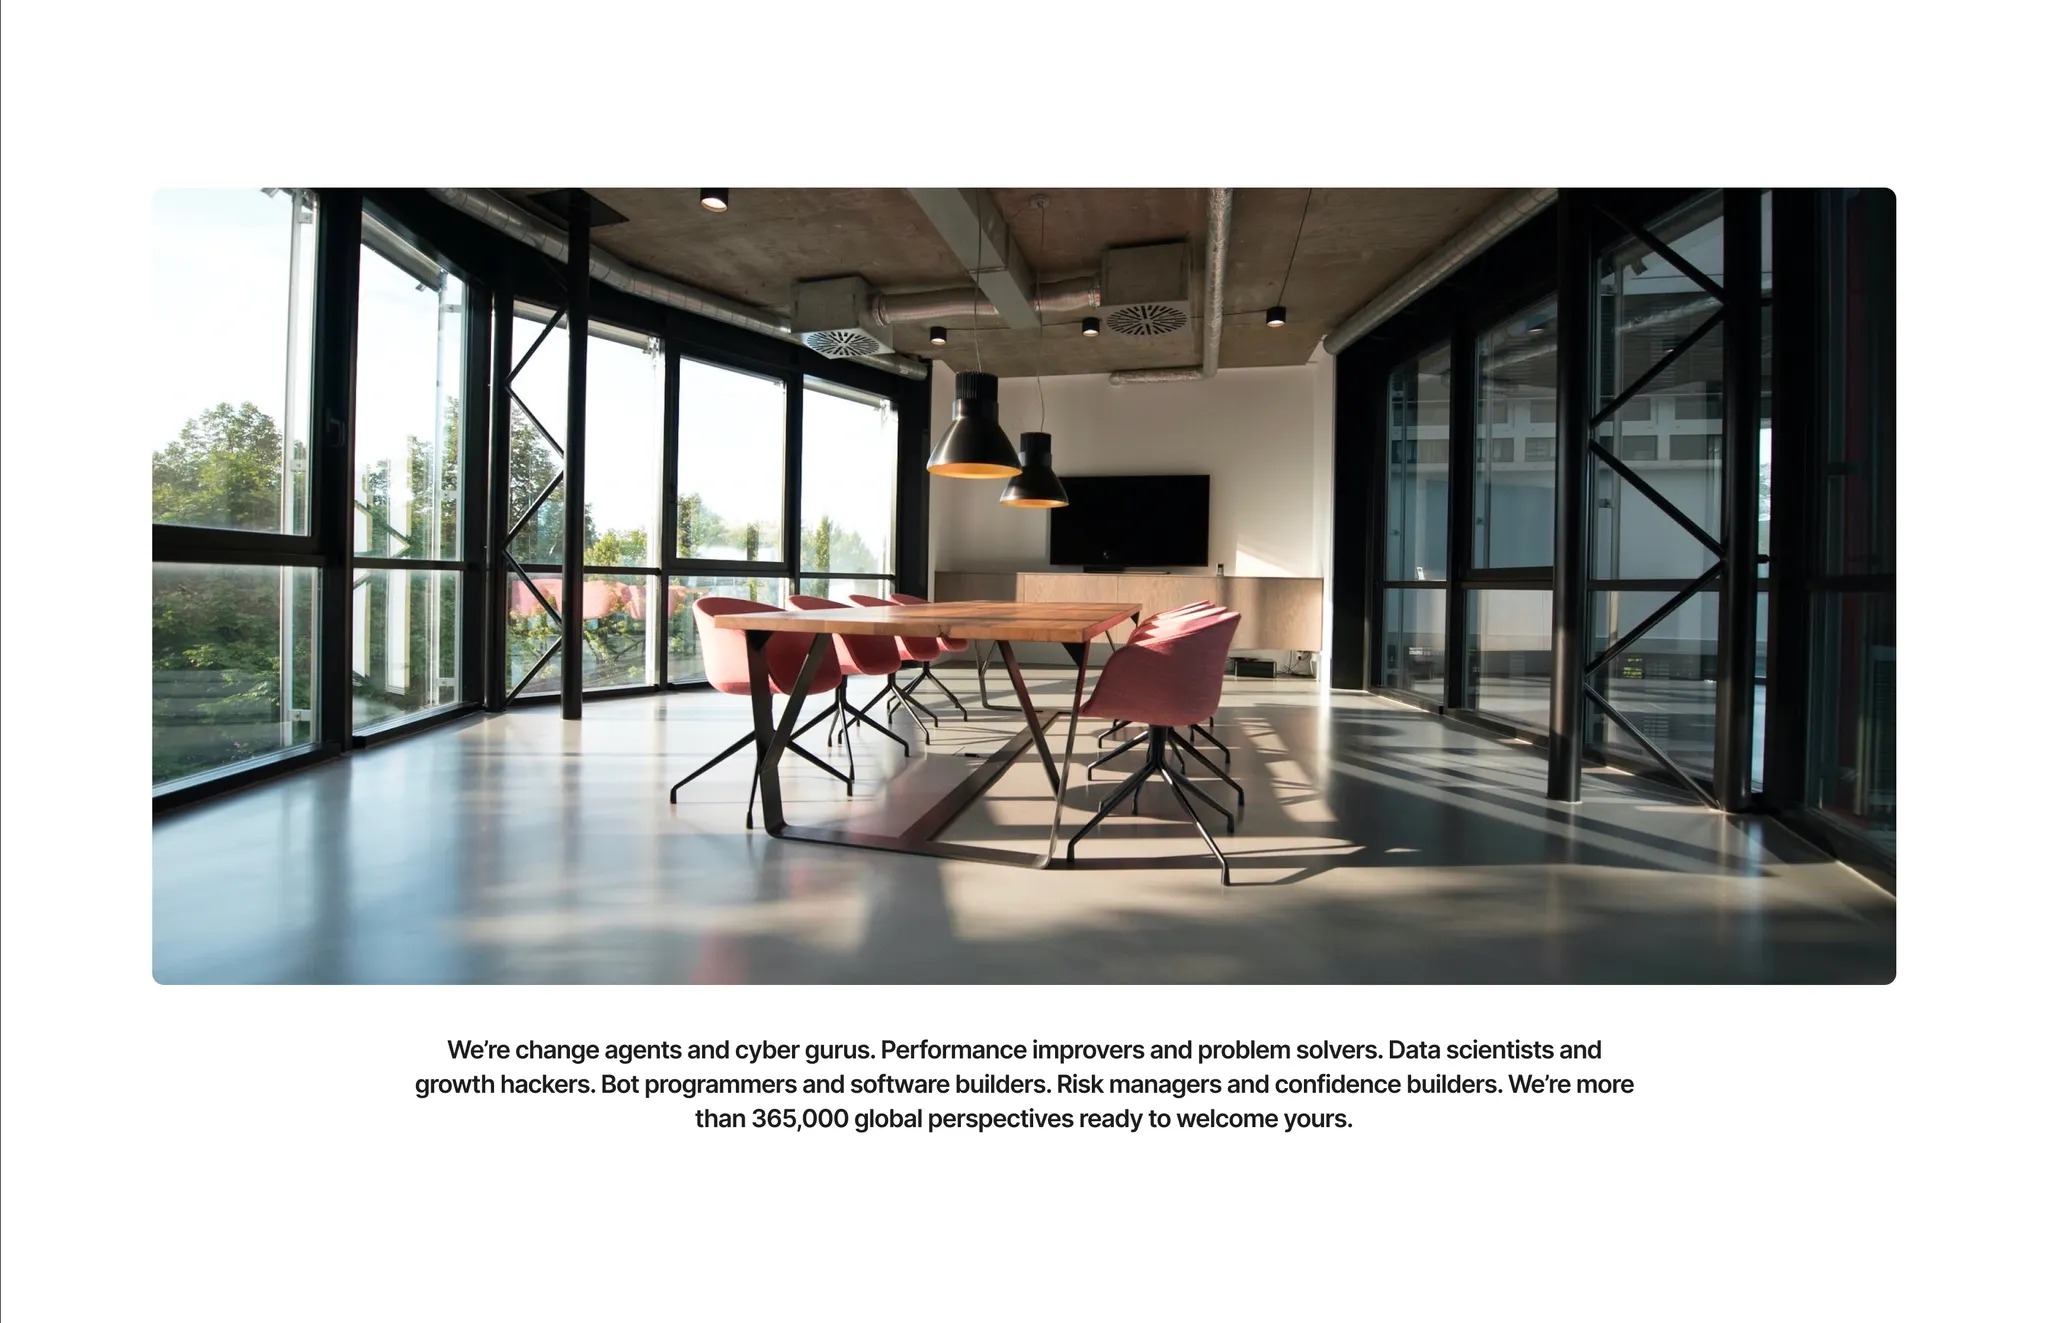
These subjects work best in landscape format, as they adapt optimally to common screen formats and deliver a strong visual impact.
- Supporting images
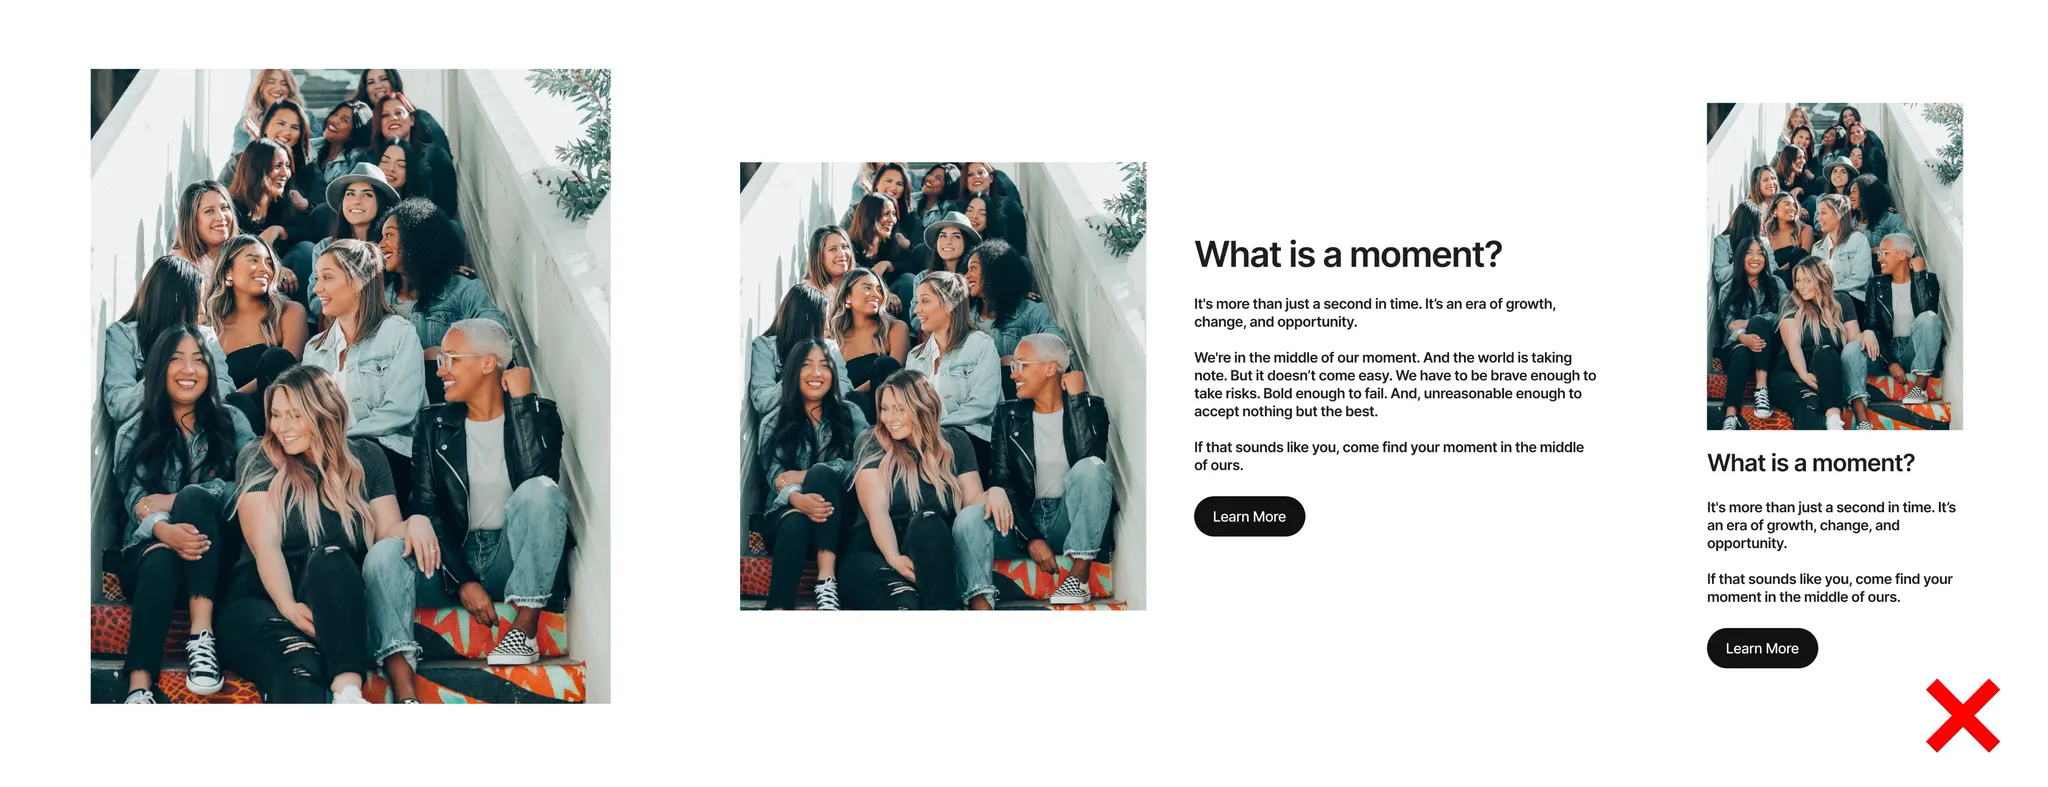
These images accompany text content, add visual variety to pages, or illustrate individual sections.
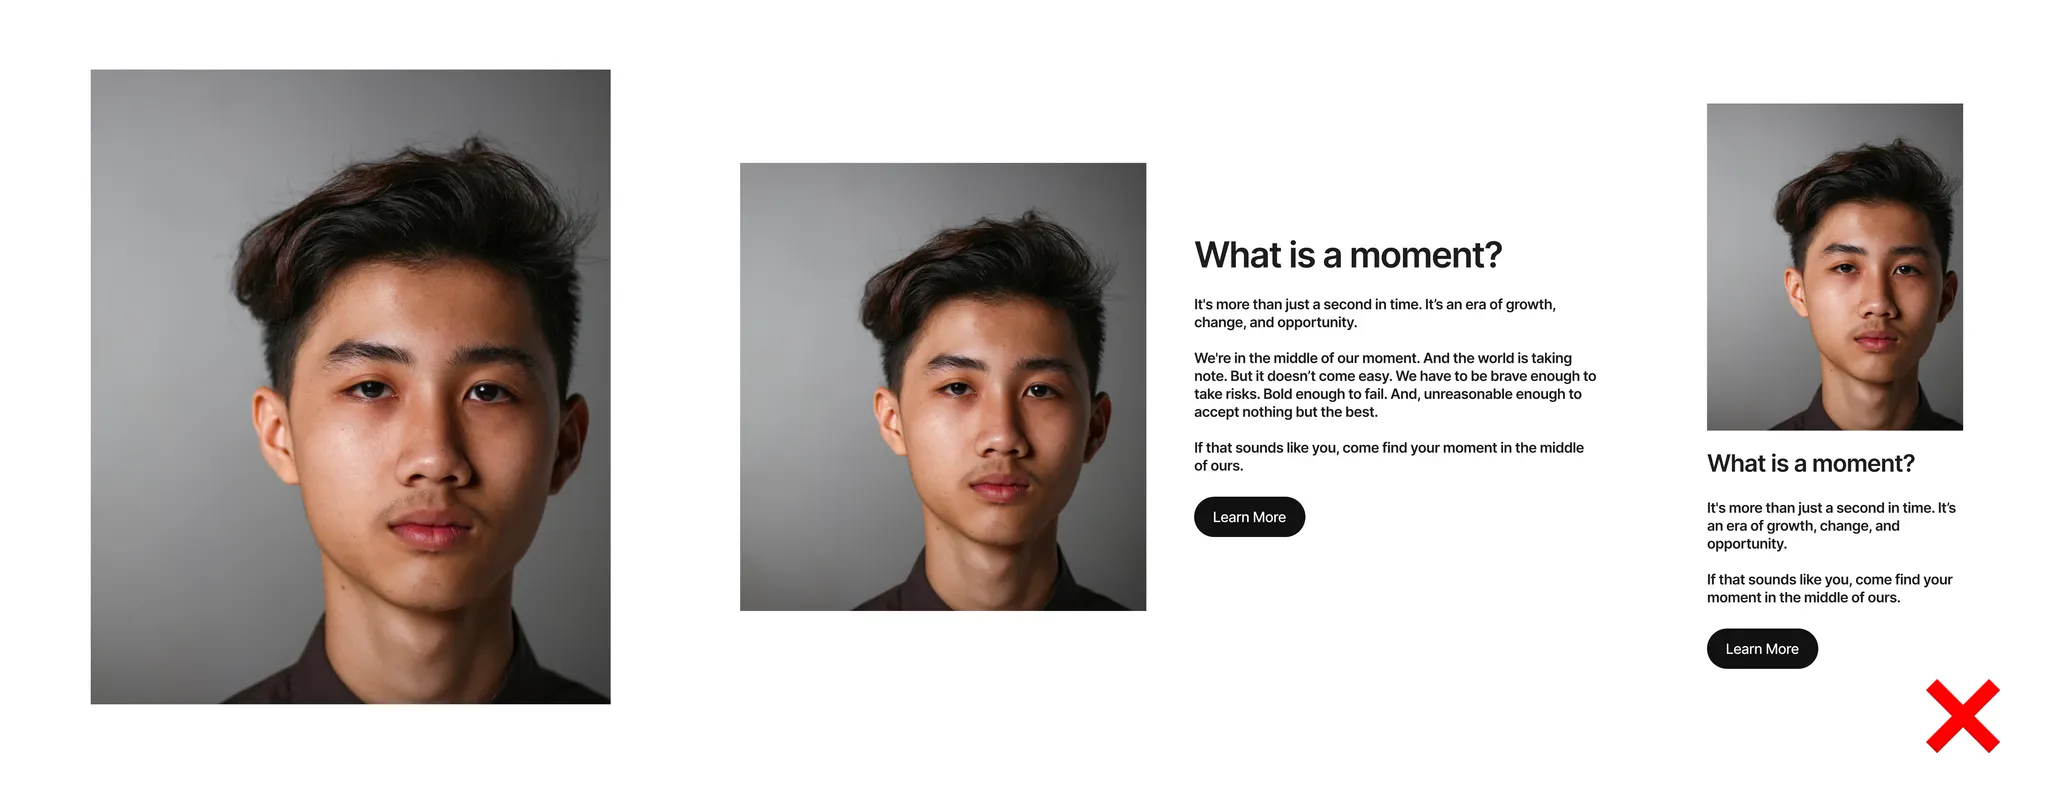
Portrait format is ideal here for combining text and image in a balanced way.
How much text accompanies the image?
Little text → Landscape format
Strong visual focus
Ideal for attention-grabbing introductions
Lots of text → Portrait format
Better balance between content and image
Calmer page layout
2. Image Formats per talentsconnect‑Module
Modules with Landscape Format
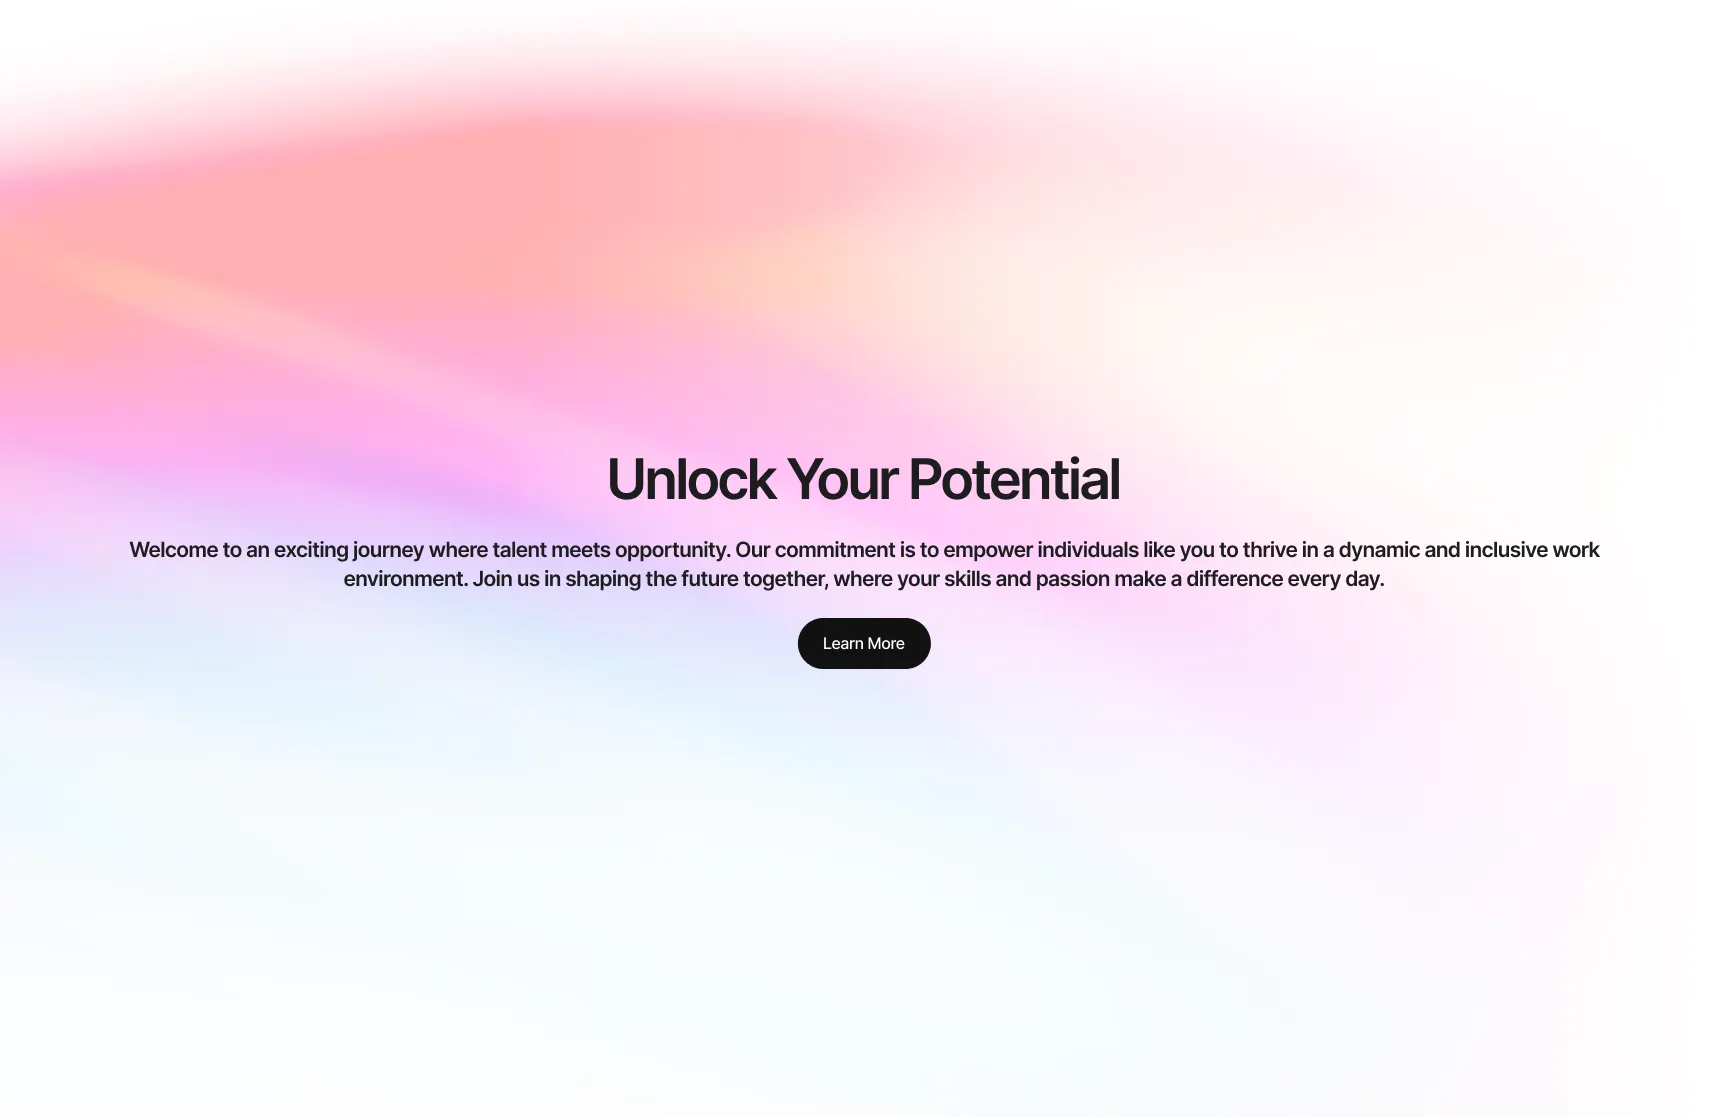
These modules particularly benefit from wide, calm image subjects:
Hero Module
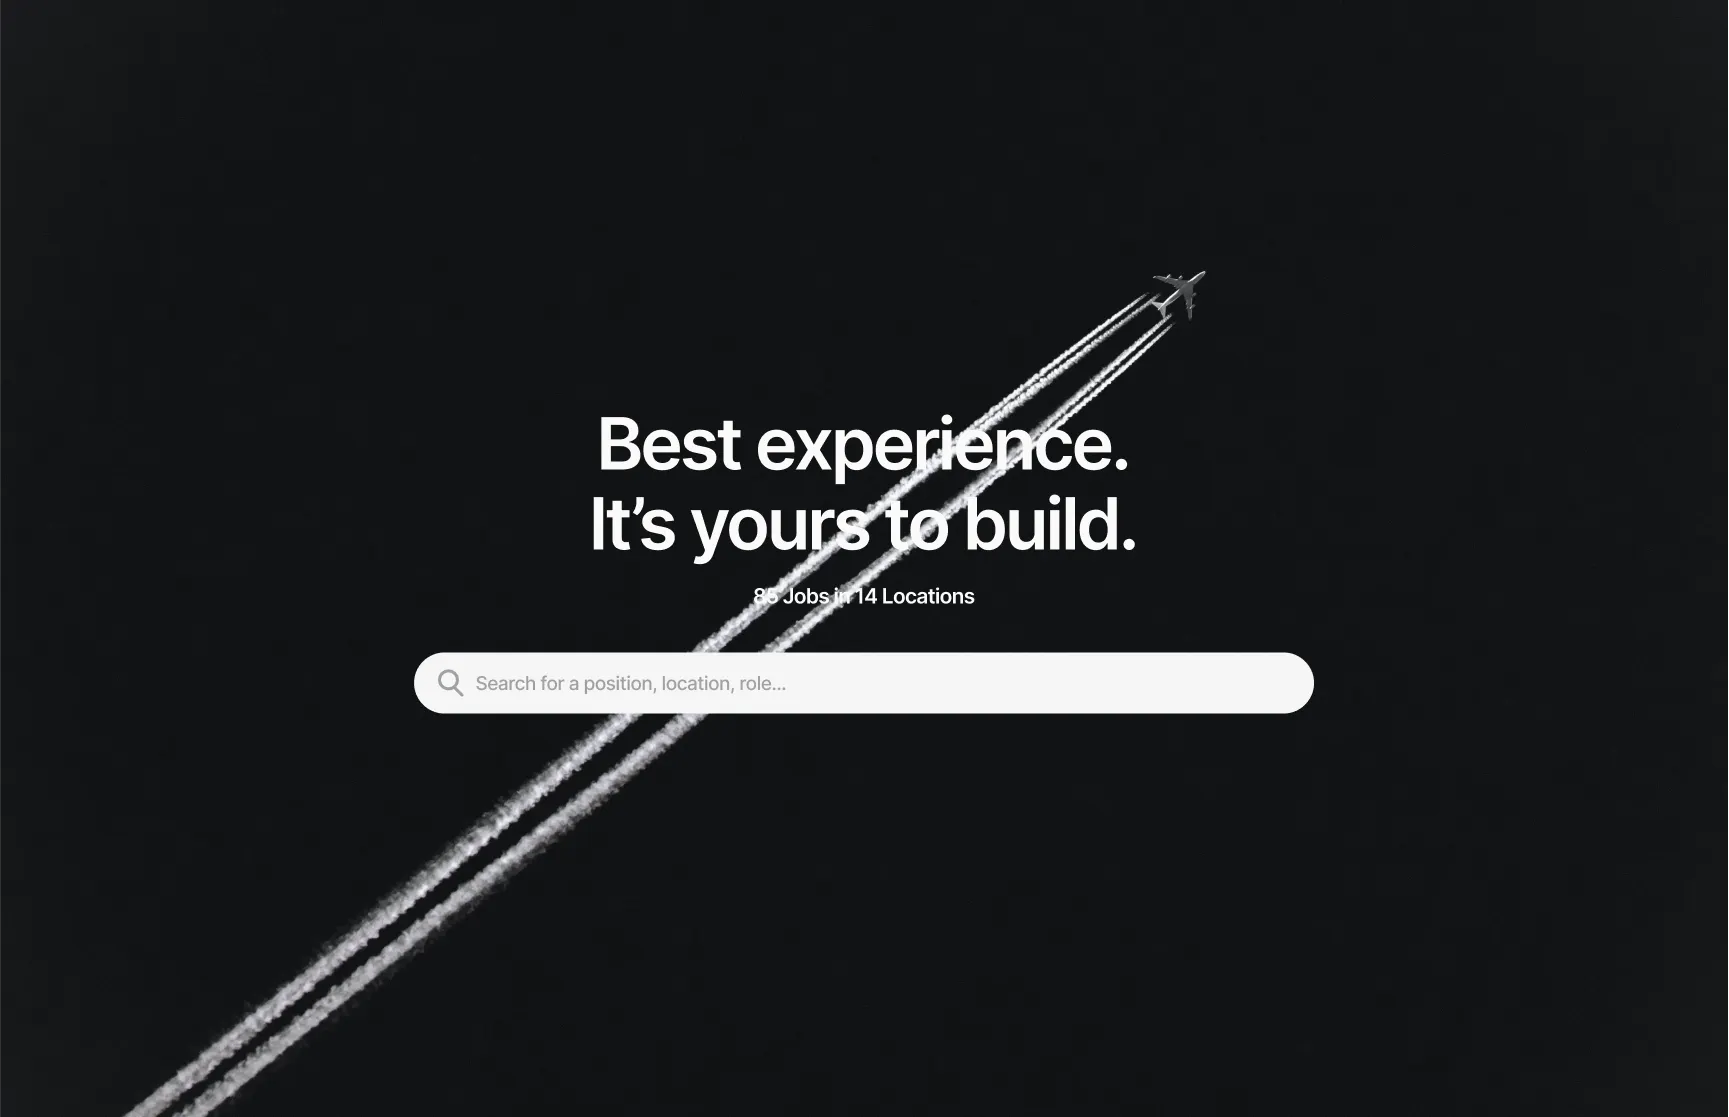
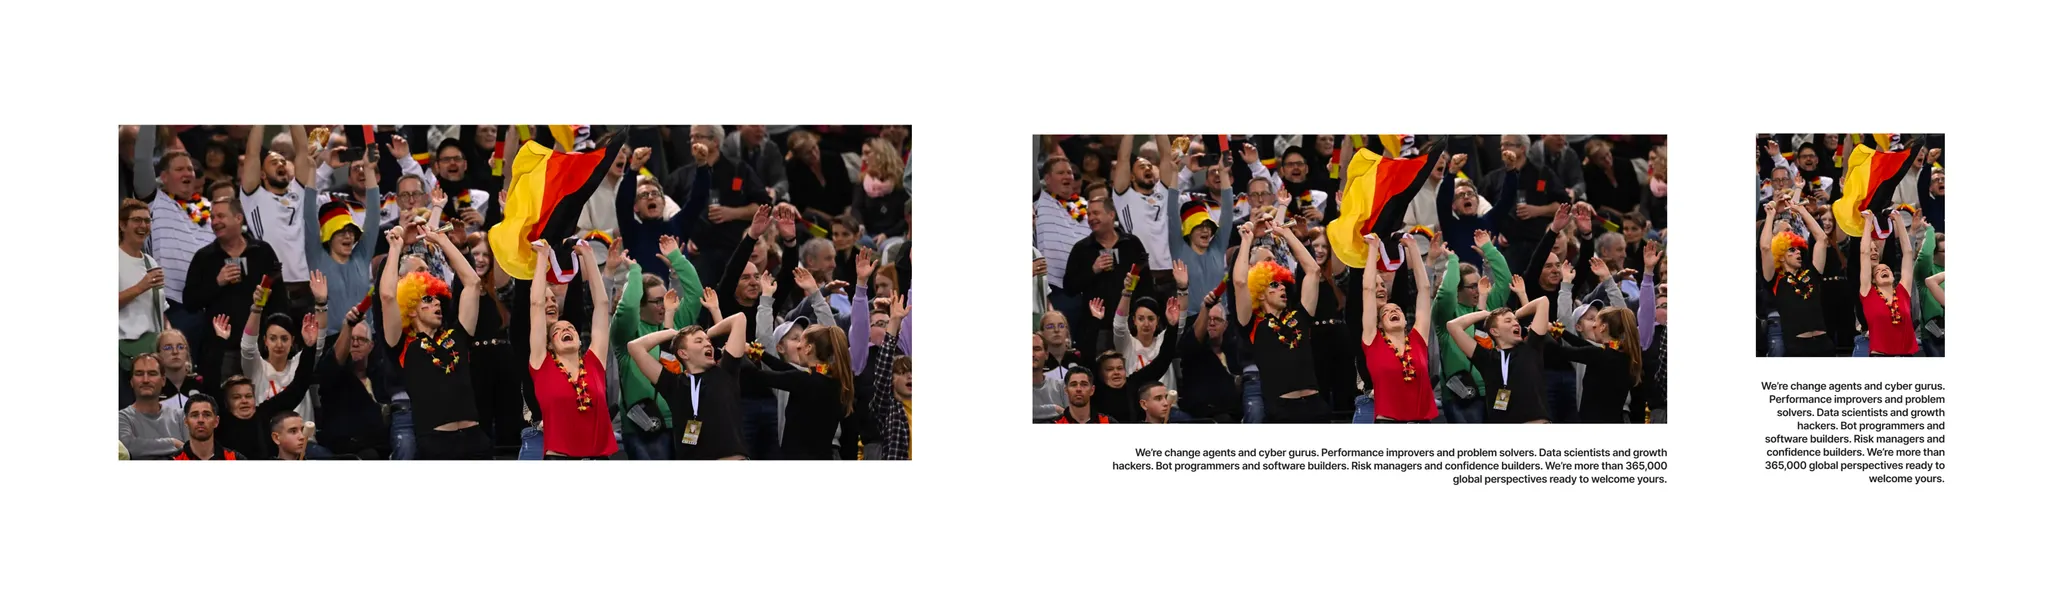
Image & Text Module
Background Images in any modules
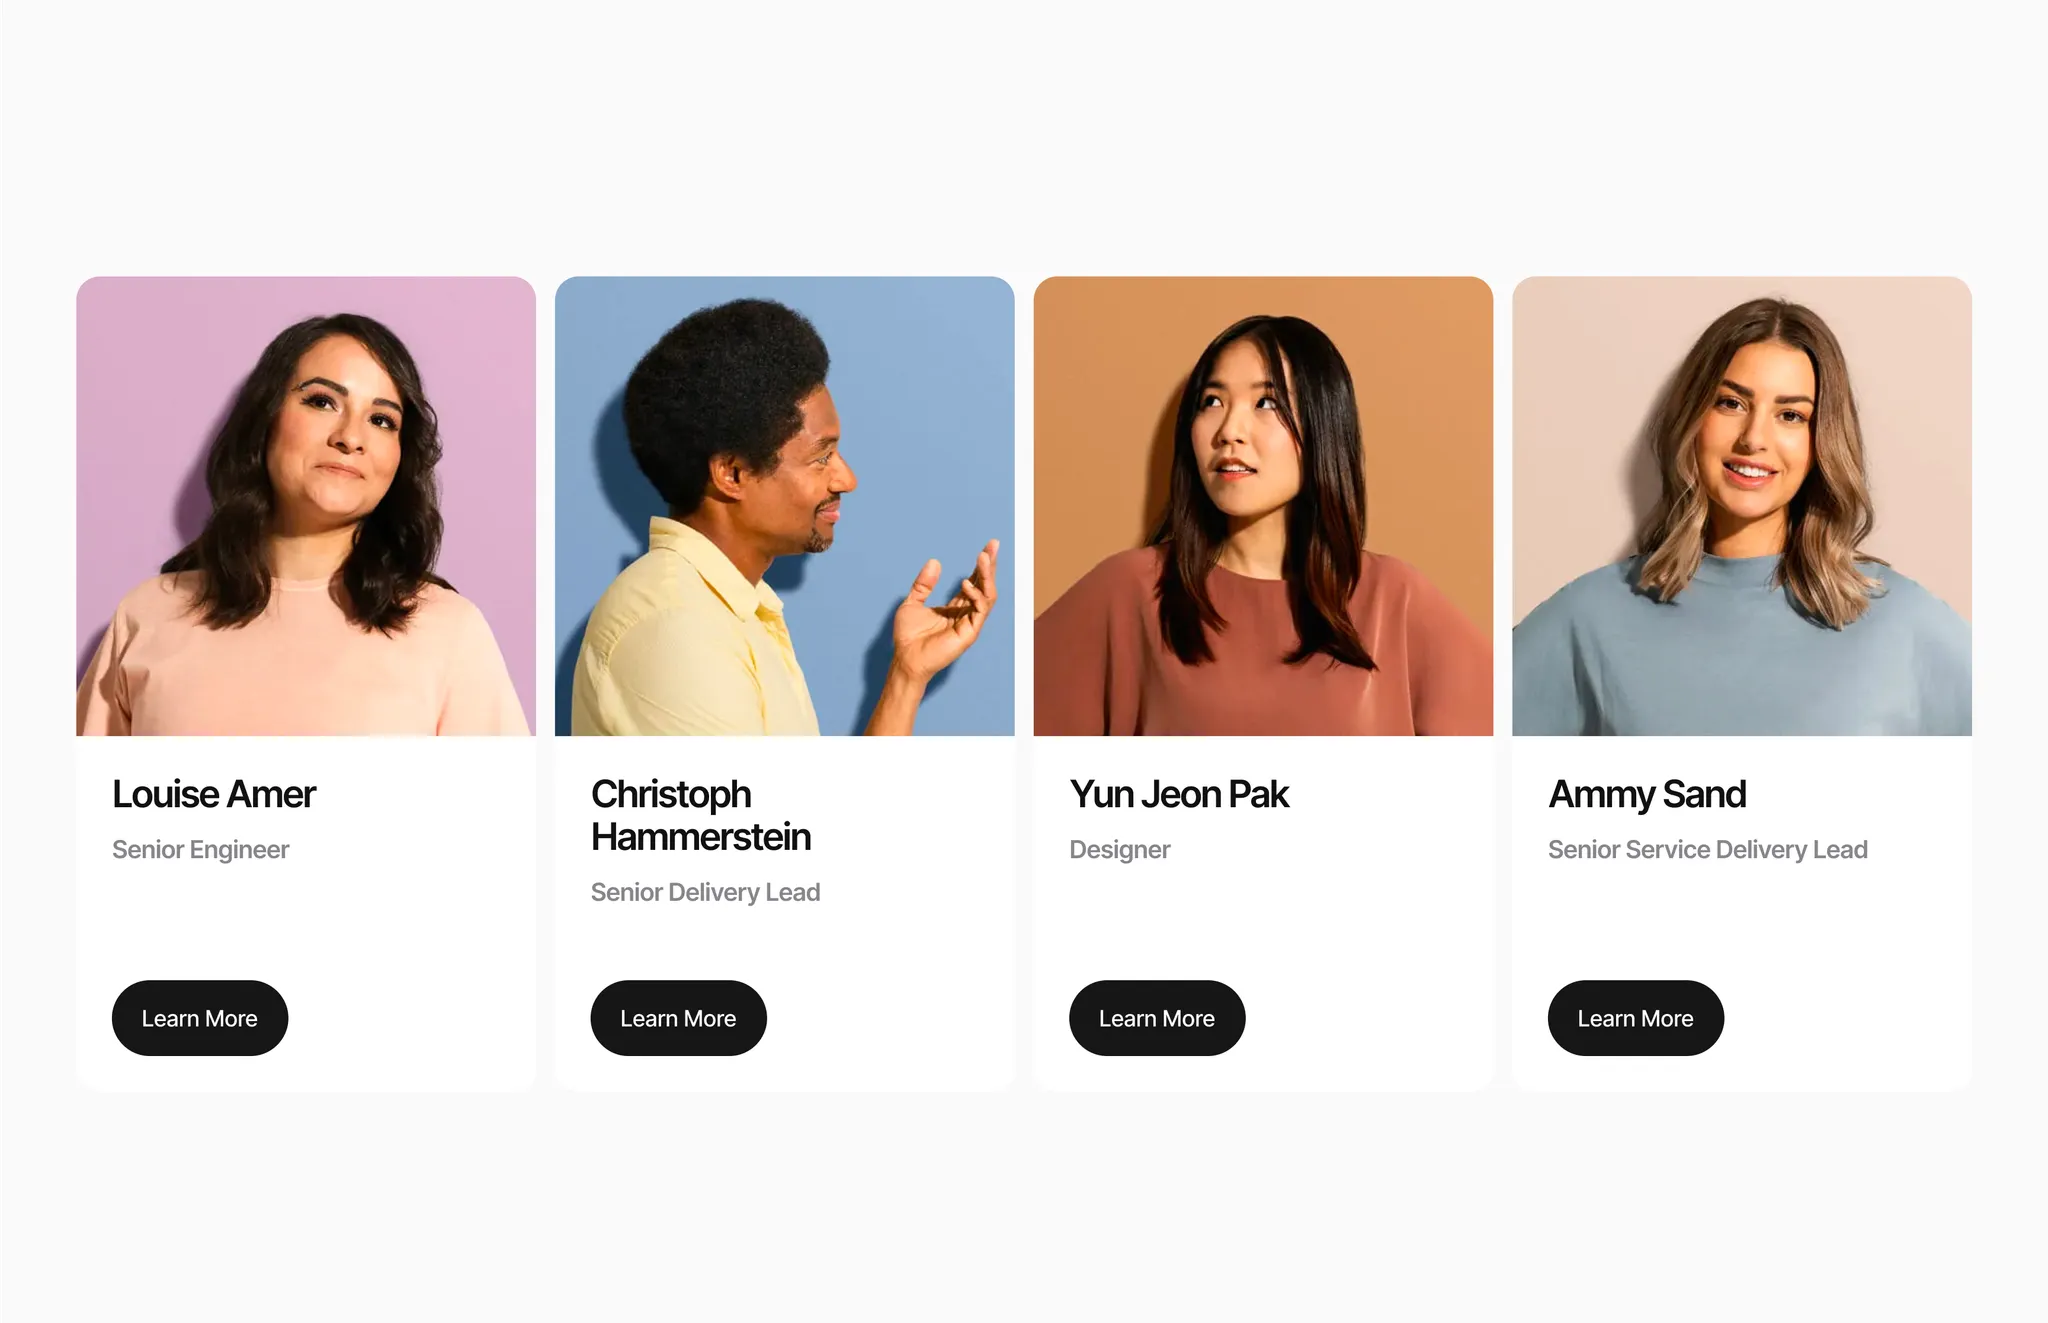
Modules with Portrait Format
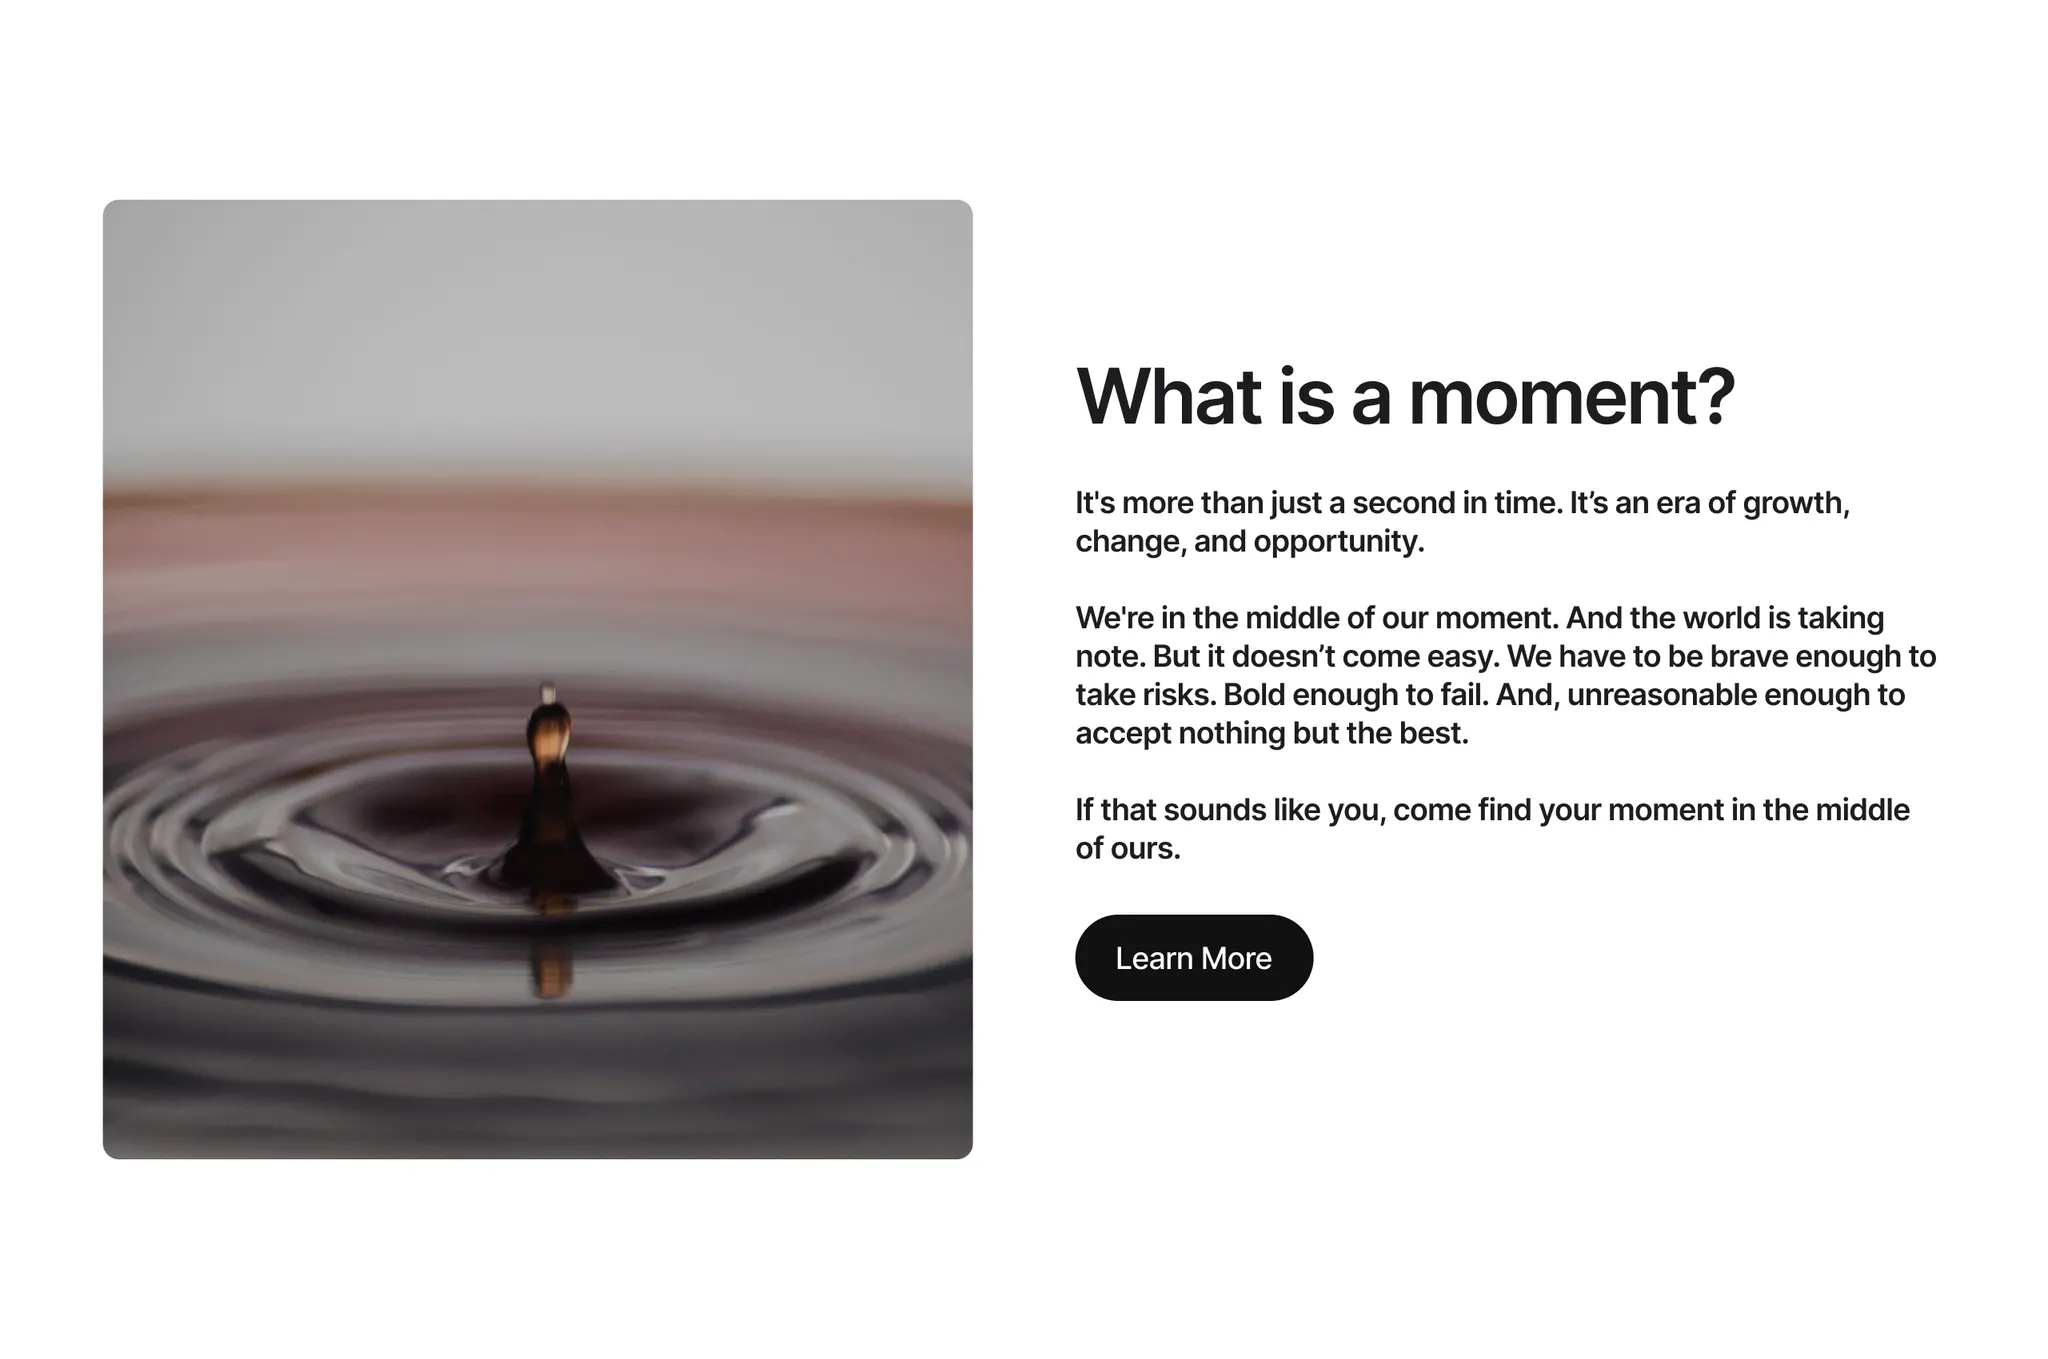
These modules work best with clear subjects that remain easily recognizable even in a smaller crop.
Chapter Module
 Cards Module
3. Tips for Image Composition
Regardless of the format, you should observe the following basic rules:
Negative Space
Deliberately leave space around the main subject
Target size of the subject: approx. 60–80% of the image area
Makes it easier to place text and creates visual calm

Positioning (Rule of Thirds)
Place important image elements along the imaginary lines that divide the image horizontally and vertically into thirds
Avoid placing key elements at the very edge of the frame – this can affect responsiveness
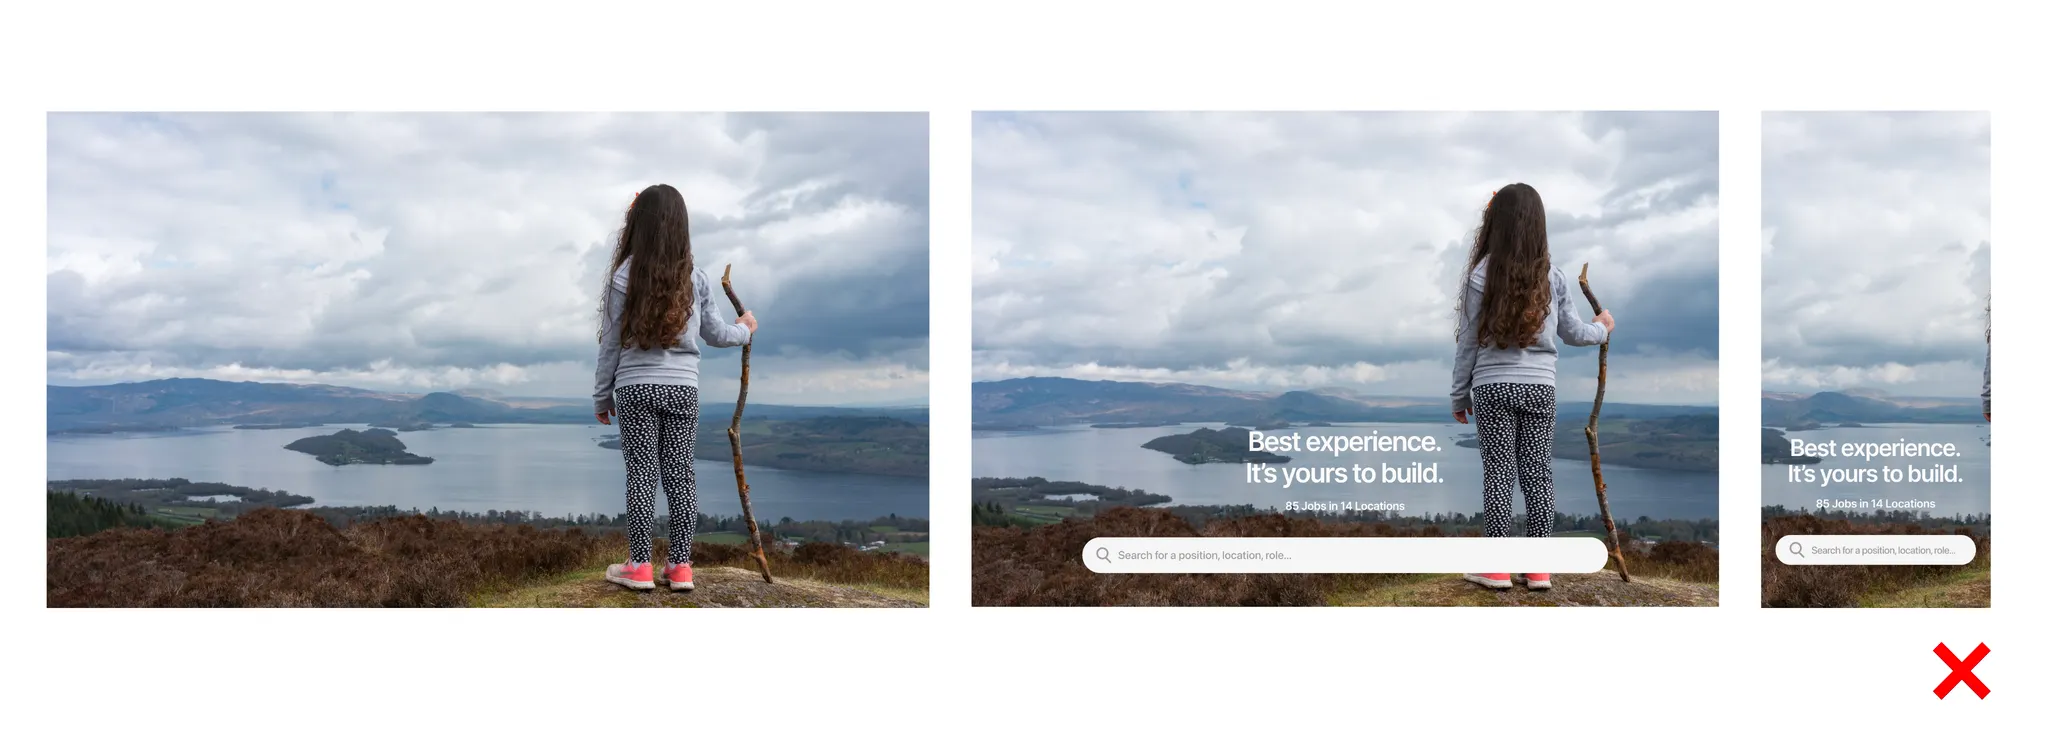
Flexibility
The rules are a guide, not a requirement
Experienced photographers can deliberately break them to achieve special visual effects
4. Practical Tips for the Photoshoot
Image Formats
Request both .raw files and high-quality .jpgs
This keeps you flexible for later adjustments and optimizations
Content Planning
Define in advance which topics and modules need to be illustrated
Share this list with the photographer to ensure targeted, suitable subjects are captured
Lighting
Opt for well-lit environments
Natural light (e.g. on sunny days) creates authentic and inviting images
Conclusion:
The better the photoshoot and talentsconnect‑modules are aligned with each other, the more professional and consistent your career page will look. Thoughtful planning saves time and costs – and delivers strong employer branding.
Was this article helpful?
That’s Great!
Thank you for your feedback
Sorry! We couldn't be helpful
Thank you for your feedback
Feedback sent
We appreciate your effort and will try to fix the article