The Page Manager is divided into four central areas that make it easier to design and customize your pages:
- The left sidebar: This offers intuitive navigation and gives you quick access to the page editor, the Preset Library, as well as JobShop and template settings.
- The display window: Here you see a preview of your page as you make changes. This lets you view your adjustments in real time and make sure your page looks exactly the way you want it to.
- The right sidebar: This offers additional tools and options for fine-tuning your page. Among other things, it shows the specific settings for the module you have selected in the left column.
- The top bar: Here you'll find important functions and controls that let you save changes or publish your work. The top bar serves as the central anchor point for managing your pages and makes it easier to navigate and interact with the Page Manager.
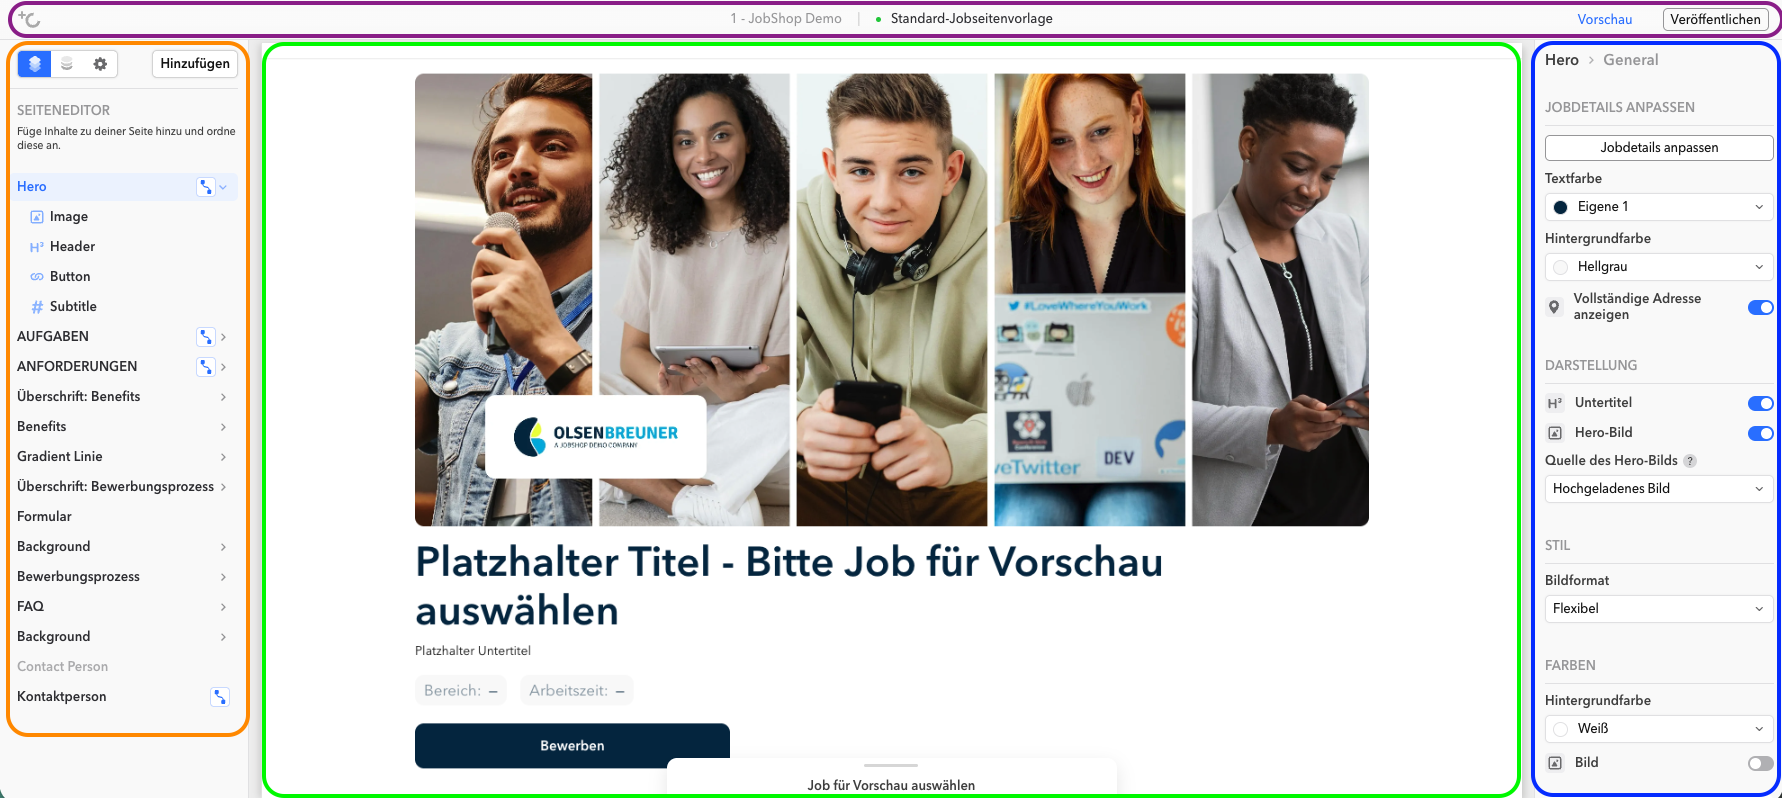
Thanks to this clear structure across four areas, the Page Manager offers a user-friendly and efficient working environment that lets you quickly and easily customize and optimize your pages.
Left sidebar
Add new module
In the left sidebar you can see the list of modules. There, you can add a new module (the "Add" button):
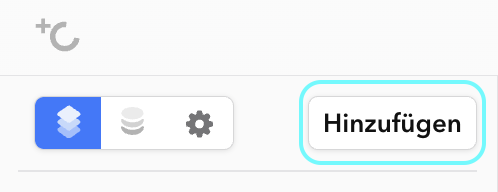
Page editor, Preset Library, and settings
Using a toggle, you can switch between the page editor with the modules (left), the Preset Library with the globally saved modules (middle), and the general settings (right):
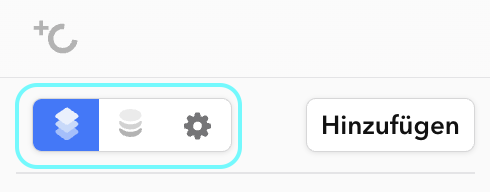
Page editor
List of added modules
The left column of the page editor shows all modules that are currently placed on the page.
Modules in the left sidebar can be expanded (to see child elements) and collapsed (by clicking the arrow).
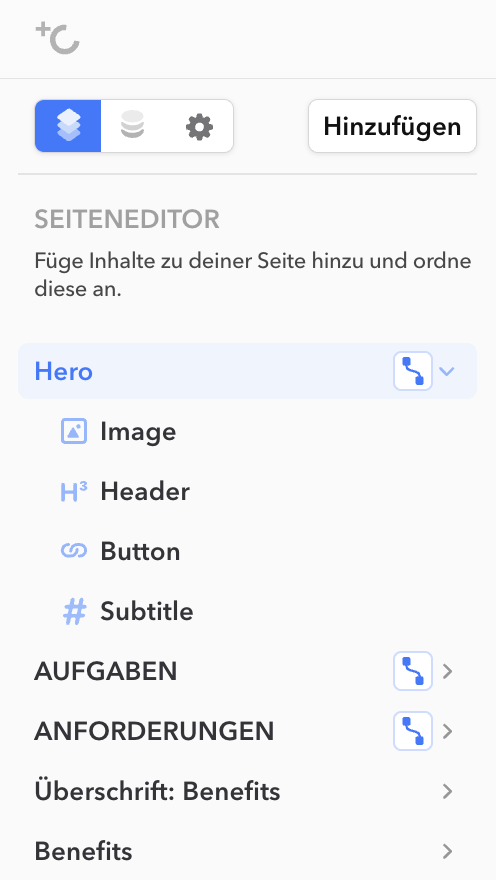
Modules can be moved by dragging. If you drag the parent module over another module with the mouse, its associated child modules move along with it.
Right-clicking on one of the modules gives you the following options:
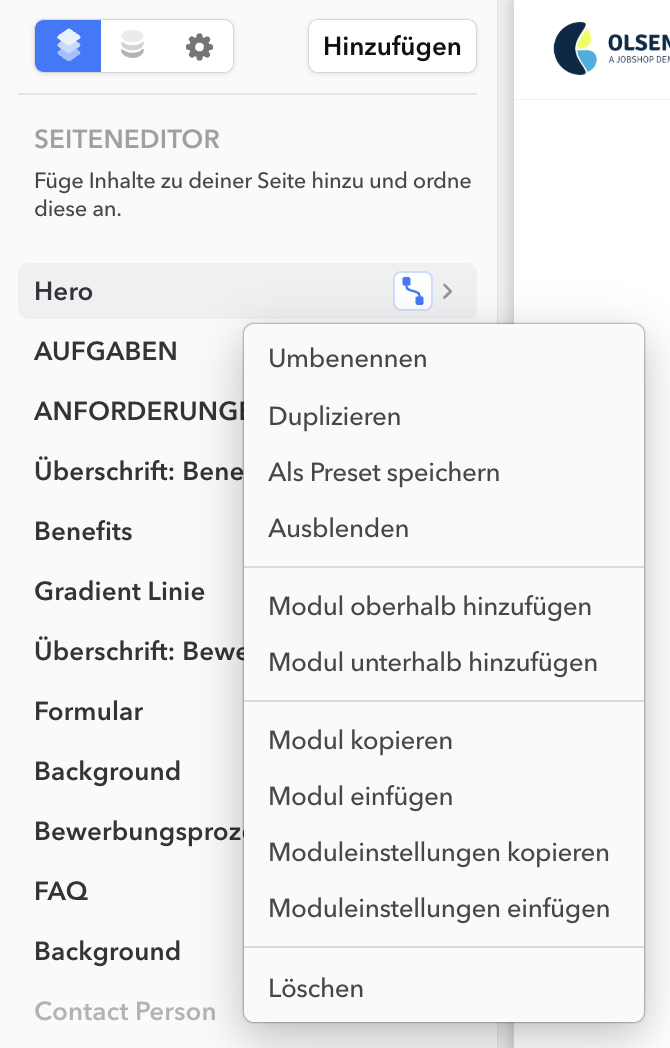
Rename module
A simple click on "Rename" (or double-clicking the module's name) lets you adjust the name of the selected module to your liking. This function allows you to match the module's name to the content or function it represents. That way you can keep your page clear and user-friendly by using clear, meaningful labels:

Duplicate module
A simple click on "Duplicate" creates a copy of the module and inserts it directly below the copied module, named "Copy of ...".
Save as preset
A simple click on "Save as preset" saves the module as a global module, which then becomes available in the Preset Library. You can choose whether the current module should be replaced by the newly created preset or kept as is. If you choose to replace it, the existing module is swapped out for the preset. If you keep it, the original module remains unchanged, and you'll additionally find the new preset in the Preset Library.
Hide module
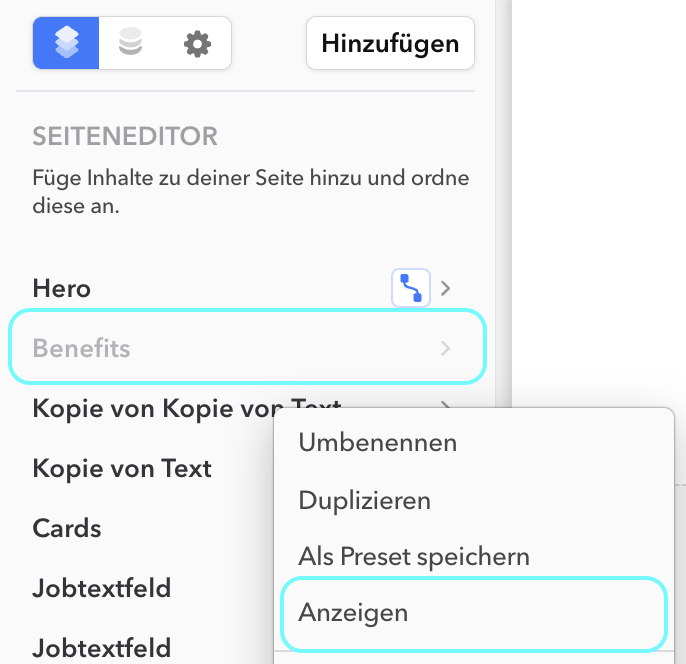
Clicking "Hide" grays out the module's name, and the module is no longer shown in the preview pane. This function lets you temporarily hide certain modules to improve the clarity of your page or to temporarily hide unimportant content.
If you later decide you want to show the module again, simply right-click it. Instead of "Hide," you'll then see the "Show" option.
This handy function lets you flexibly control the visibility of modules and show or hide them as needed. This way, you keep full control over the content and appearance of your page and can adjust it to your current needs at any time.
Add a new module above / below
If you want to add a new module above or below a specific module, the following window opens:
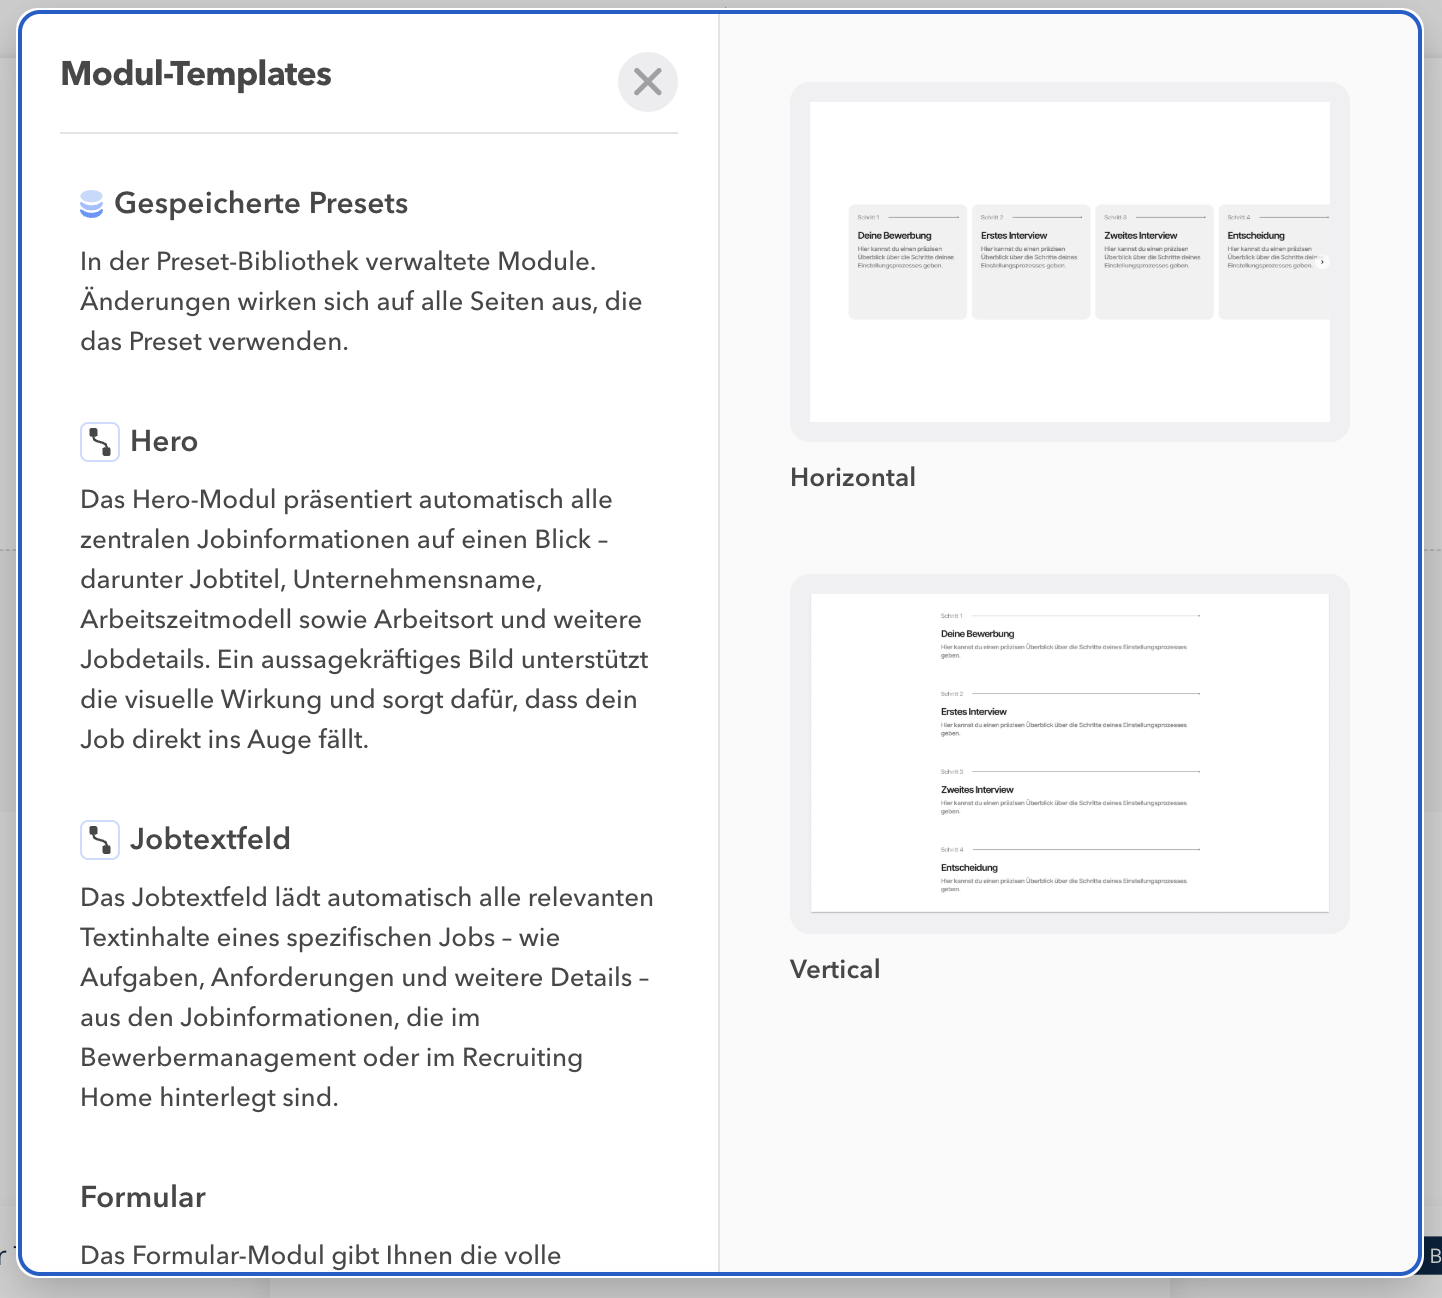
On the left side of the window, you'll find a clear list of the modules and saved presets currently available for your JobShop. Each module comes with a short description that gives you a quick overview of its functions and benefits. This clear structure lets you quickly find the module you want and make your selection.
On the right side of the screen you'll see a variety of variations for the selected module. These variations show you different designs and layouts to choose from. Simply hovering over a template reveals an "Add template" button:
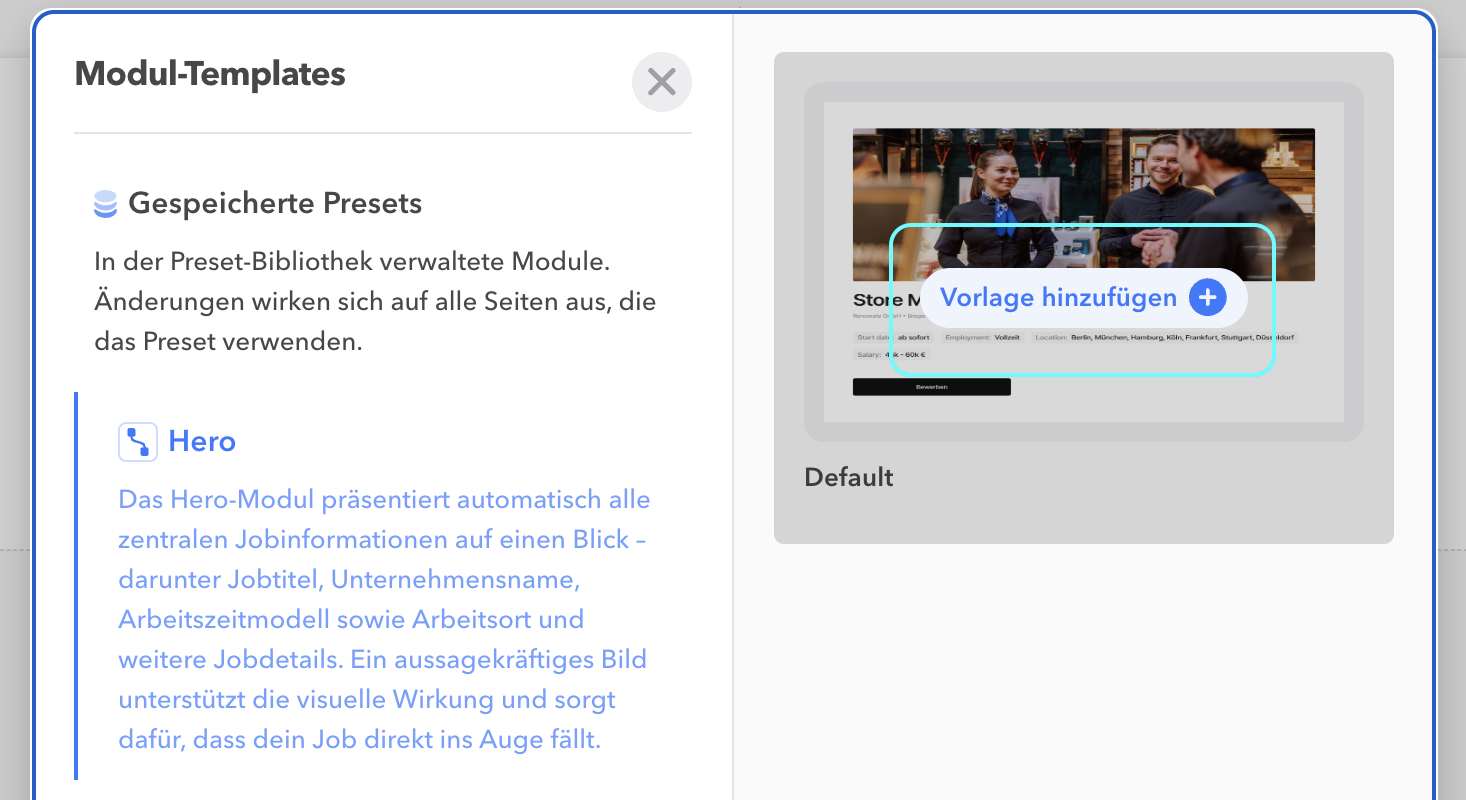
Clicking it adds the desired version of the module to your JobShop.
Copy module
Clicking "Copy module" saves the module to the clipboard. Right-clicking another module and then clicking "Paste module" inserts the copy below the clicked module as "Copy of ...".
Copy / paste module settings
Clicking "Copy module settings" saves the module's settings to the clipboard. You can then transfer the settings by right-clicking a module of the same type and clicking "Paste module settings".
Delete module
Clicking "Delete" shows a warning message reminding you that deleting the module is irreversible. This warning gives you an extra layer of safety to avoid accidental deletions and make sure you're making a conscious decision.

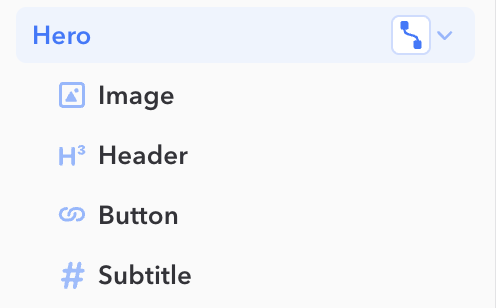
If you click on the parent element, you can show or hide the module's individual components in the right sidebar under "Appearance".
Right sidebar
In the right sidebar, you can configure the settings for the module selected in the left sidebar. These settings can apply to the entire module as well as to individual elements within it.
By separating modules in the left sidebar from their related settings in the right sidebar, a clear structure is created that lets you quickly navigate between different modules and adjust their settings individually.
Keep in mind that these settings differ from module to module. To give you a detailed guide, these settings are explained further in the respective articles for each module.
You can find them here: https://help.my-job-shop.com/de/support/solutions/folders/80000719004
There you'll find all the information and steps you need to configure the settings optimally and adapt the module to your requirements.
Top bar
Clicking the "Logo" gives you a handy shortcut back to talentsconnect home. This provides a convenient way to navigate between different areas of the platform.
In the middle of the bar, you can see the name of your JobShop as well as the name of the current page.
Preview
Clicking "Preview" gives you a preview of your page. In this mode, the sidebars are hidden to give you a clear, uninterrupted view of your page.
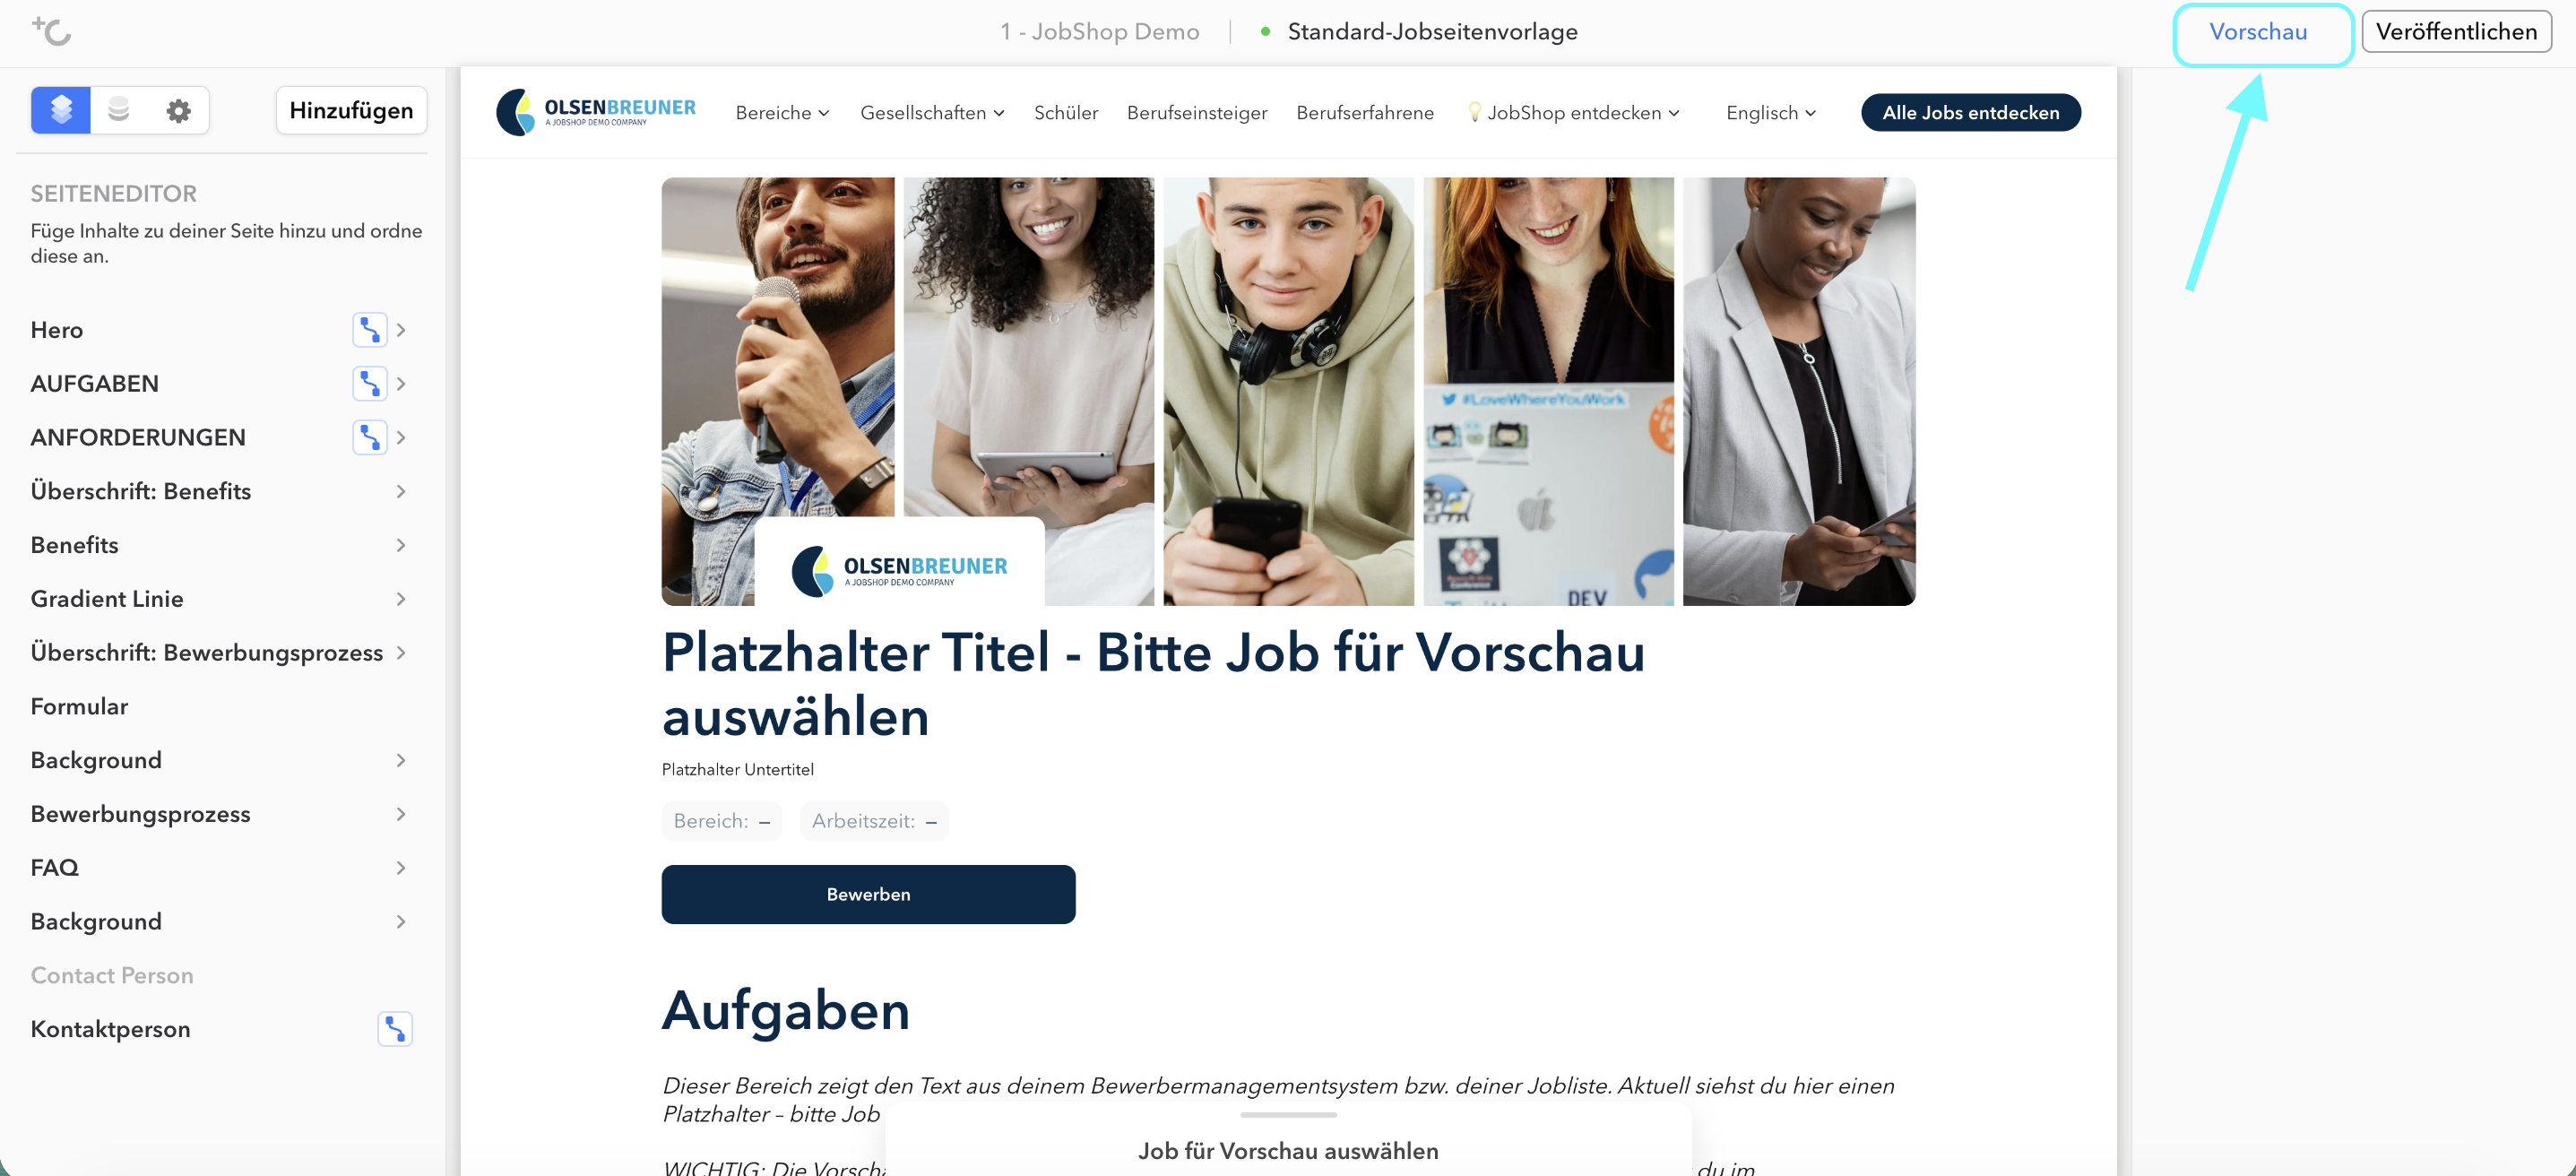
You'll also see buttons that let you switch between different devices. Clicking one of these buttons changes the device mode (desktop, tablet, mobile) and immediately shows you how your page looks on different devices.
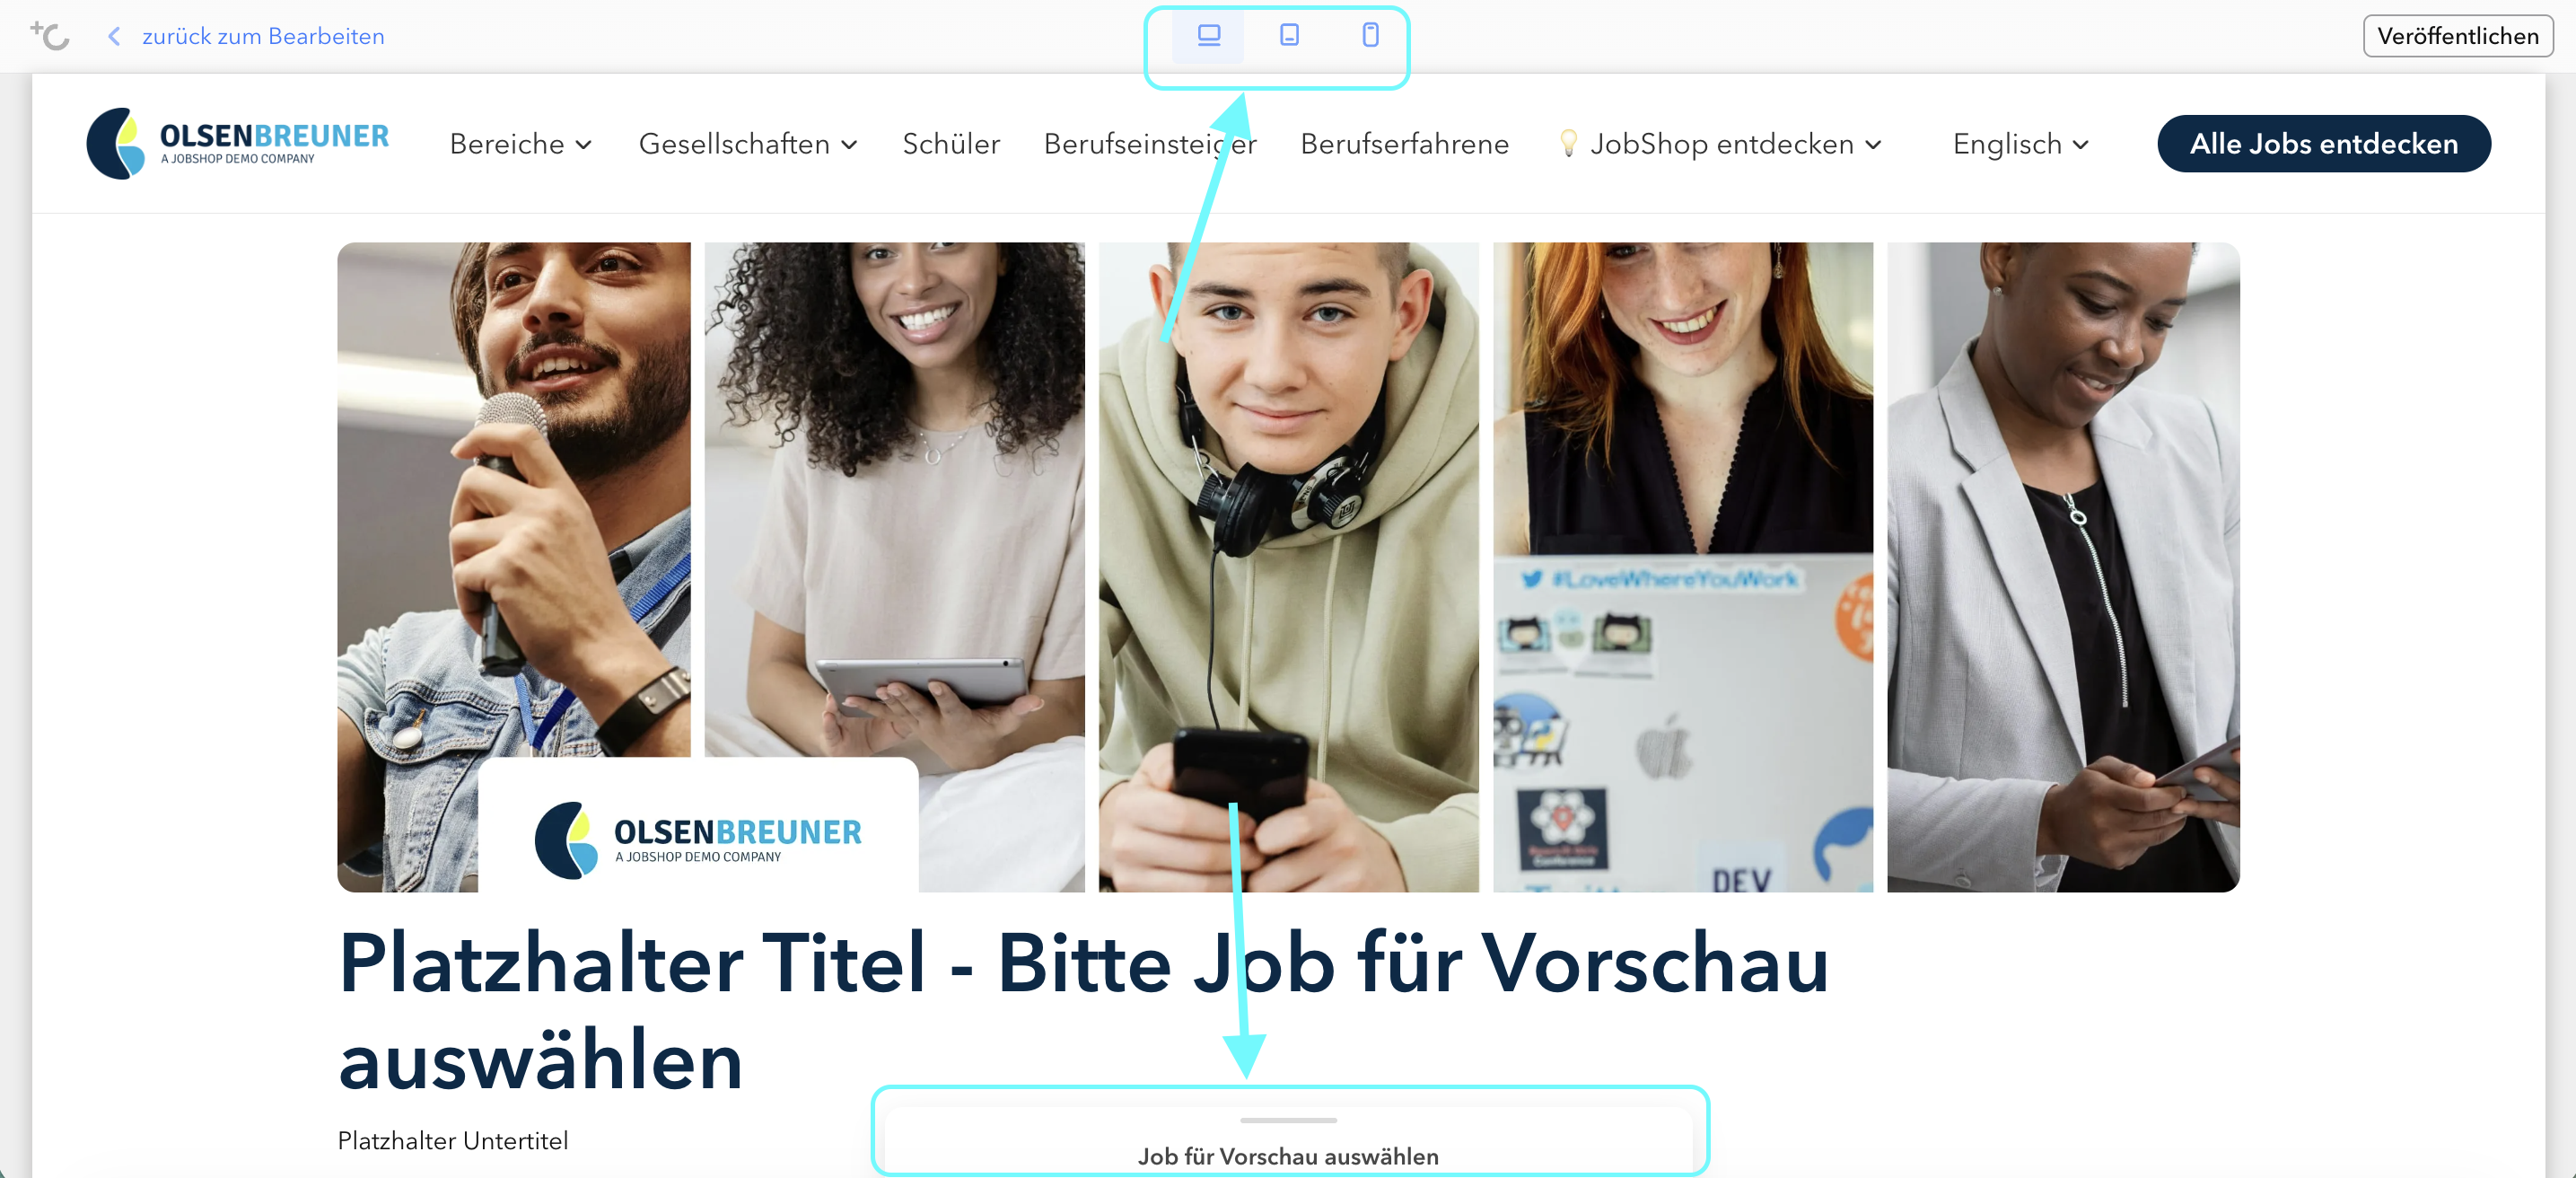
This function is extremely useful, as it lets you make sure your page works optimally and looks appealing on all devices. Thanks to the simple, intuitive preview, you can spot potential issues and make adjustments to ensure your page works flawlessly for all users.
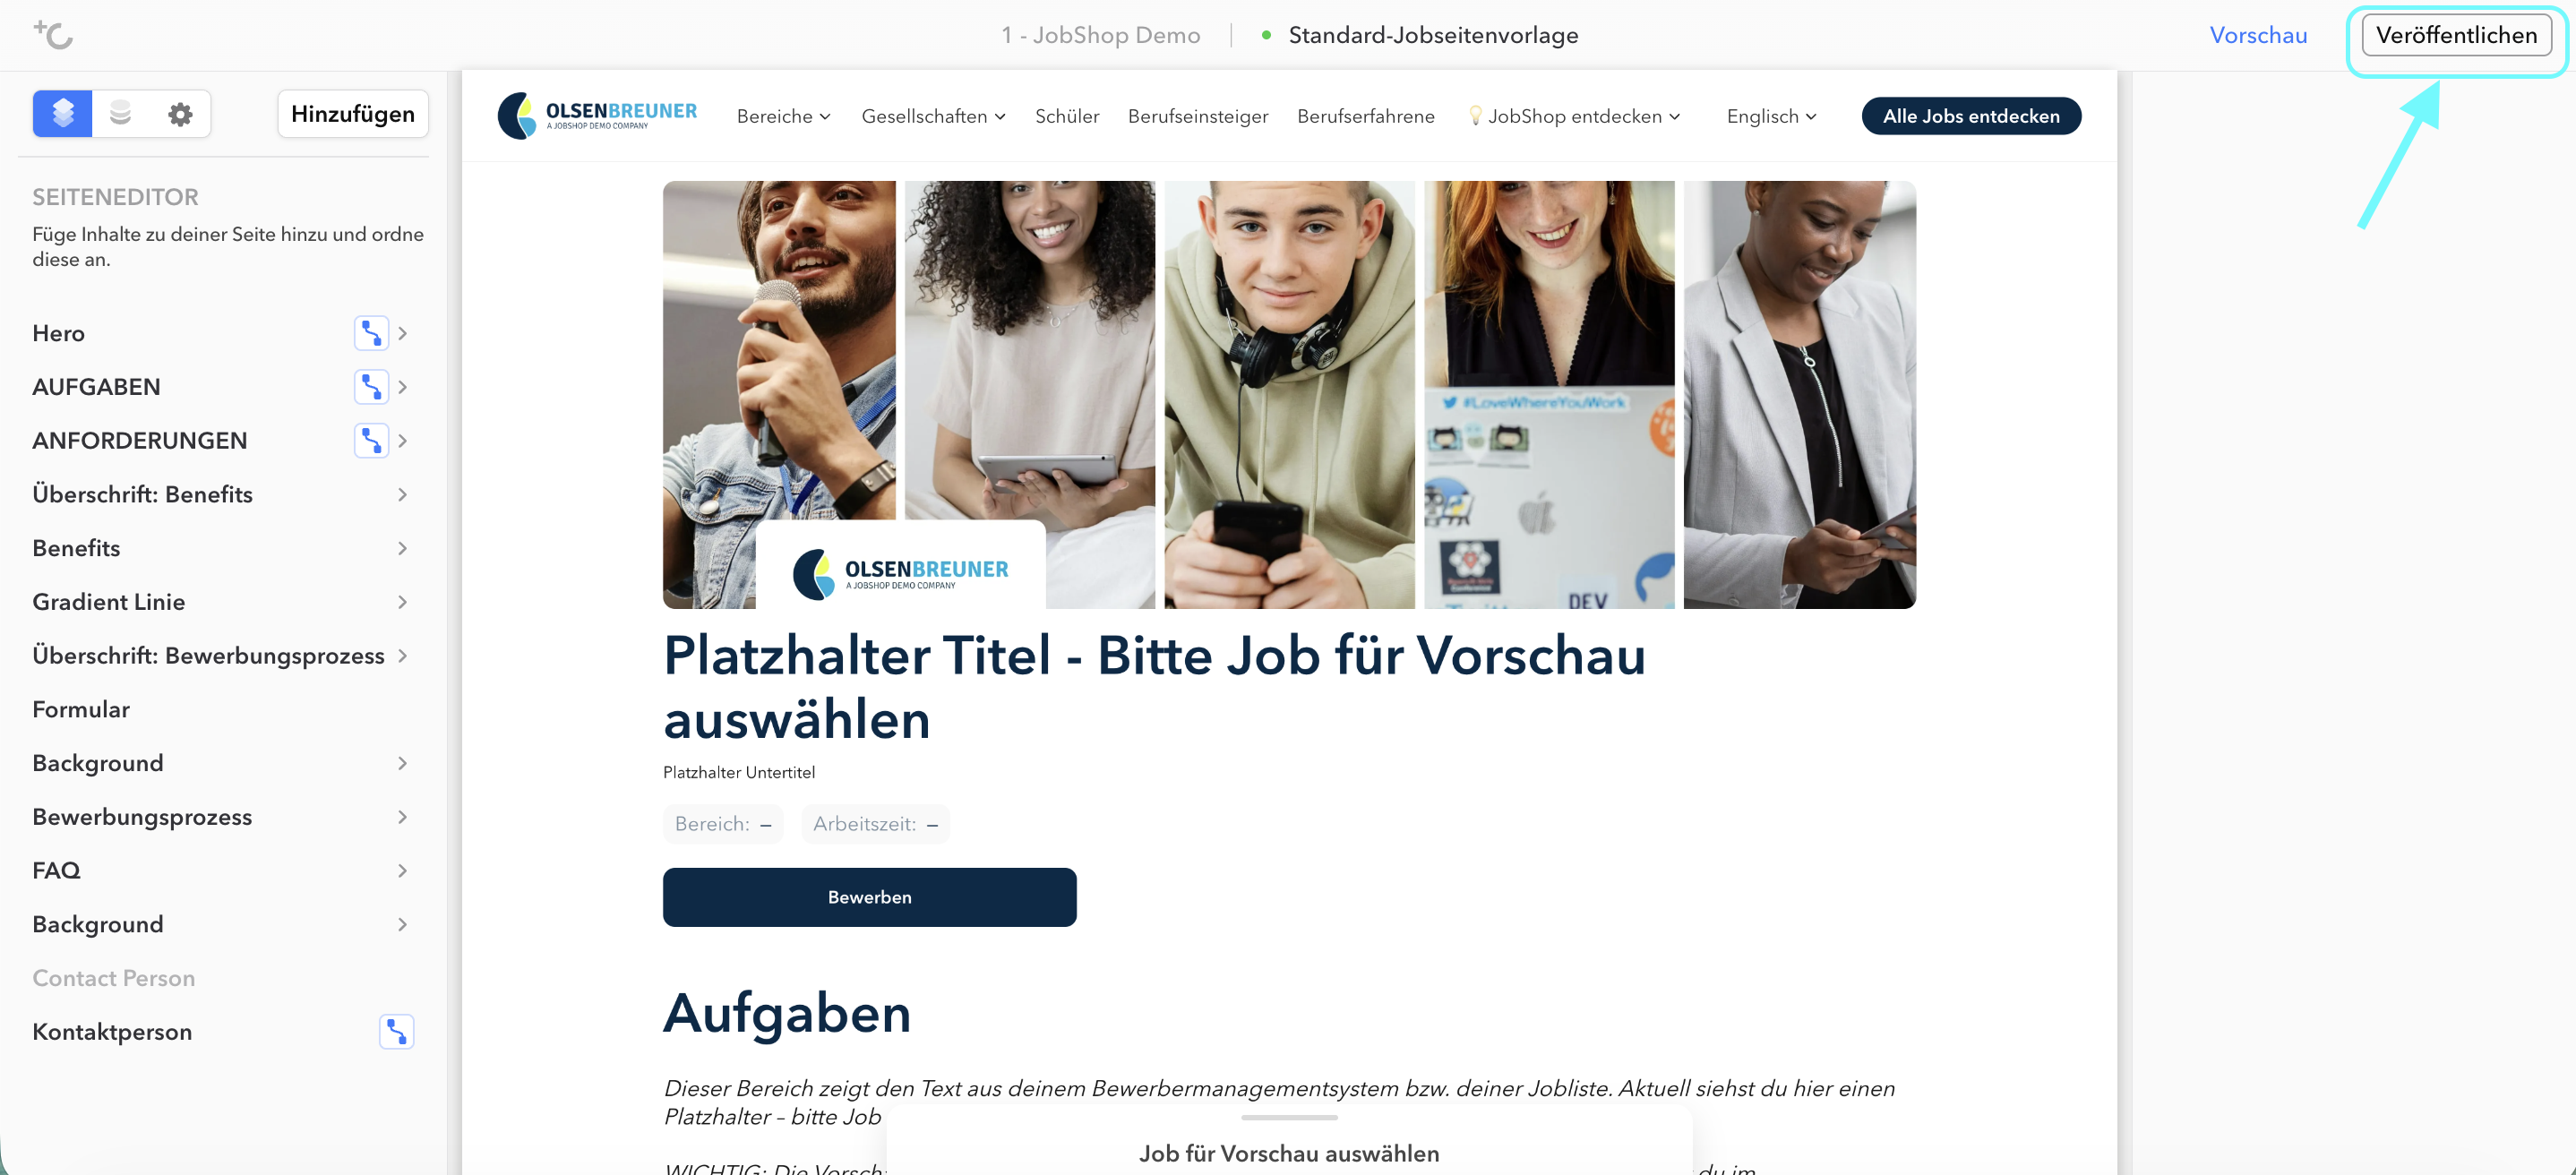
Publish
Here you can publish your page.
Was this article helpful?
That’s Great!
Thank you for your feedback
Sorry! We couldn't be helpful
Thank you for your feedback
Feedback sent
We appreciate your effort and will try to fix the article